logbook for the categorie Something with Photo for the months July and August 2023. The photos have already been posted elsewhere but today you get a few insights to my head.
Photographed on film
My photos from the film Aurelie arrived in July. It started off a bit dramatically, I had received the following note from the photo lab with my scans:

My subsequent comment to a friend was „Ok / I expect disappointment 😭“
I’ll tell you how it eventually turned out in a separate post on Aurelie then. What I can say already, nevertheless: It’s a fact that I’m still very doubtful of myself and also very doom and gloom/dramatic.
In July, a new film was put in which got the name Sarandsch. In July I took quite a lot of photos with it, in Ulm and also on holiday in Bavaria. Mostly of friends – which means that I will most probably not show them on the blog. Currently, the film still has a few free photo slots and these are being filled very slowly at the moment (technology failed – at least the repaired battery compartment lasted for 28/36 photo slots). Aka right now it’s not clear when the film will be completed (or if it ever will be).
In August, in preparation for my autumn trip, I felt like using a colour film again. I haven’t done that for quite a while. When writing this post draft, I estimated that there were three or four black and white films since my last colour film. In fact, it’s been 7 BW films :O
I considered doing a bit of research on which film to get beforehand …. eventually I just went to a photo shop and bought the cheapest one. The cheapest one was still worth two kebabs! I haven’t had to buy film for a long time because I got films as a present . I had only heard about the horrendous film prices but had not felt them – until recently. Welcome back in the real world! And that’s it for August, and hardly took any analogue photos.
Photographing food
Months ago, a friend and I came up with the idea of starting a project: she likes to cook and I get to try my hand at photography. Since then, I’ve done a bit of research and learning. And of course I can’t avoid trying things out. In July, I tried to take a photo when we were in a Turkish café, here’s a photo:
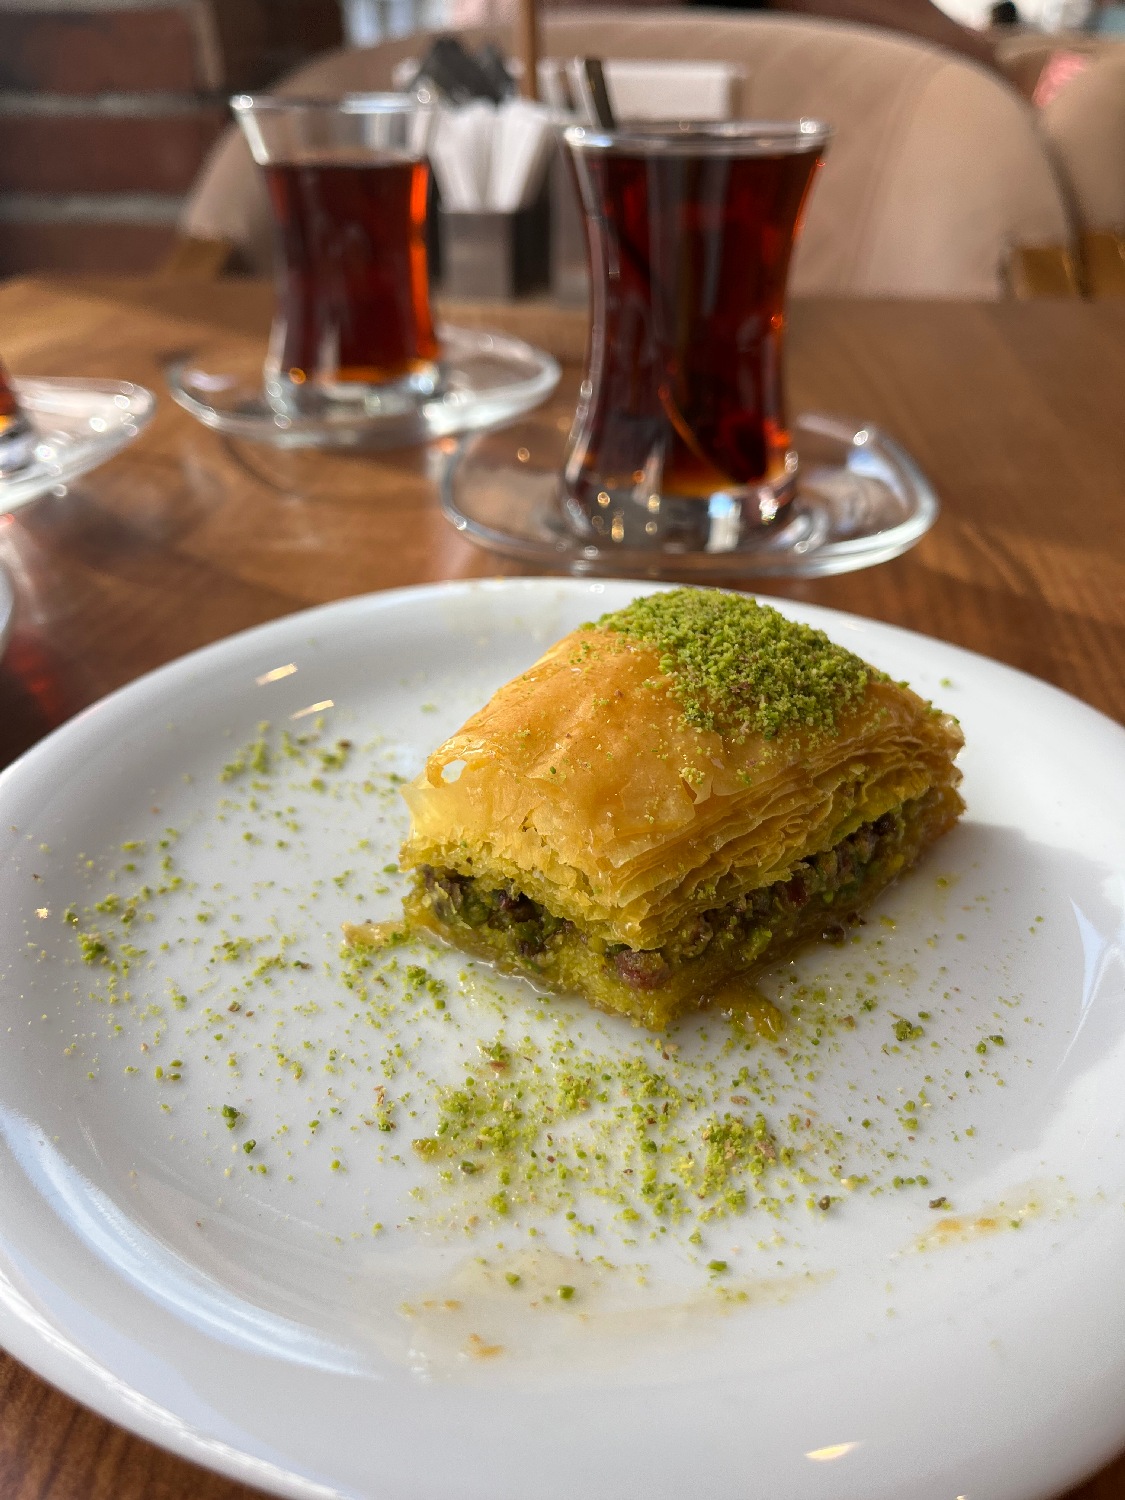
Actually, I don’t want to talk about it that much because I know it’s still quite amateurish. Nevertheless, it belongs in the logbook because I do something and this is part of the learning process. After all, I tried different arrangements and took several pictures.
In fact, I call it on purpose taking photos of food, because I food photography is too lofty for me and I hardly want to call my amateurish attempts by that. Even if that is the goal in the broadest sense. But the learning process is very slow. Every now and then, and quite sporadically, I look at photos in magazines or on the internet or watch a YouTube video. Or I find other people’s photos on Instagram or blogs quite chic. It’s not much but at least it’s something.

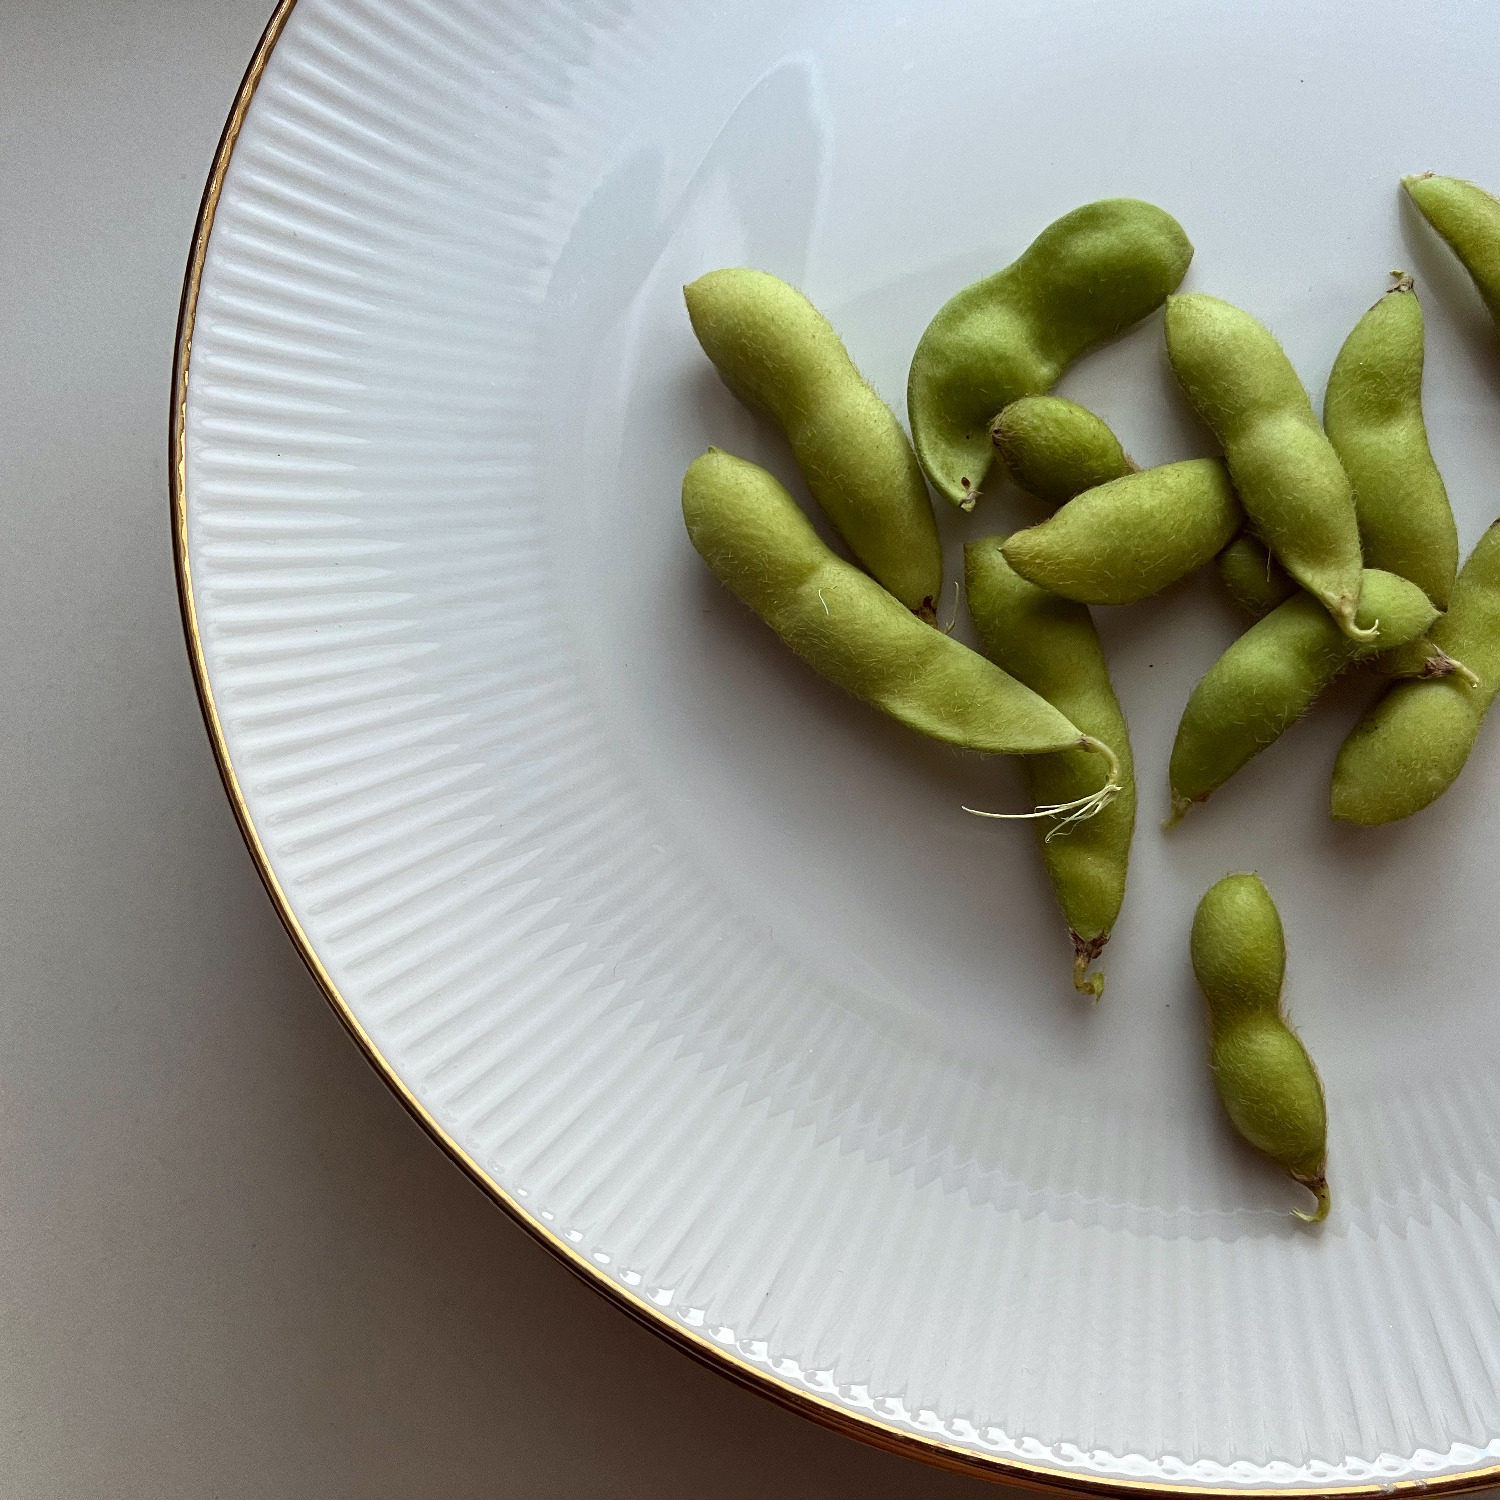
What I have learned: Get nice dishes and cutlery! Actually an easy tip but only then I realised that our everyday tableware is not fancy enough. For the backgrounds and props, I’m relying on what I already have or are easy to buy (tea towels that aren’t too crazy in colour; napkins; other neutral fabrics). In August, I saw a beautiful set of plates in a second-hand shop and bought them. I took a photo with one of the plates (the one with the edamame beans) and my friend commented afterwards that she thought it was a nice plate for photos, too. Thus: It’s a match!
