I'm learning how to expose - Station 2: light meter

Station 1: Sunny 16

Station 1 on my way to learning how to expose is, in retrospect, understanding the Sunny 16 rule. This whole thing about exposure was never thought in stages and stations – I thought Sunny 16 and that's it. How I ended up here anyways:

After I learnt about the Sunny 16 rule, I worked with it for quite a while. But I became a bit lazier (or more willing to experiment, depending on the perspective). I photographed more according to my gut feeling and less with the rule itself, applying it not as clean as before.

However, the results and yield of the last few films with the more-or-less Sunny 16 rule/with my gut feeling were disillusioning and I was dissatisfied. My gut feeling was not yet ready and the wealth of experience was not great enough.

I was stuck and needed to change something. Therefore, ...

Station 2: Light meter

For other photographers, it is probably the most obvious choice, but I resisted for a while until the decision was made: I will use a light meter. Instead of estimating the light myself, I had it measured and got the result spit out. The device was quickly found: I got an app on my mobile phone. (Why? I didn't get along with the internal light meter on my camera).

And then?

How do I use the light meter?

I had heard a lot about how and on what to expose. There were all kinds of ways to do. Do I want to expose on the shadow or rather on the object? On box speed or +/-1? Many questions and the answers did hide from me. There was nothing left to me than: trial and error. Trying out the methods and see how much I like the results.

My first approach was to expose on the object at box speed. Then I got distracted by Madeira: the zone system according to Ansel Adams. I had heard about it often but never understood it. On holiday I had the time and motivation to watch various videos about it and at some point I actually understood it more or less. Subsequently, so I measured up to three spots - one bright, one dark spot and my subject - to decide what to set the settings to, eventually. And I think I did pretty well with this method. The first results can be found in my series about Madeira .

How is it going?

Since then I've been using the light meter app. But here, too, I became sloppy and don't do the measurements as clean as I did in the beginning on Madeira. But it works.

Overall, I'm quite slow when it comes to taking photos: take the measurement(s), decide, adjust, take the photo. And very important, as I take analogue photos: note down the settings used and also what was measured. For analyses if I ever want to do one.

My goal is to become a bit quicker. I don't know how to achieve that. Maybe it's a question of time and numbers of films I've shot, leading to wealth of experience and my gut feeling becoming more trustworthy.


Camera + lens: Minolta 9000 AF + Minolta AF 50 mm f/1.4
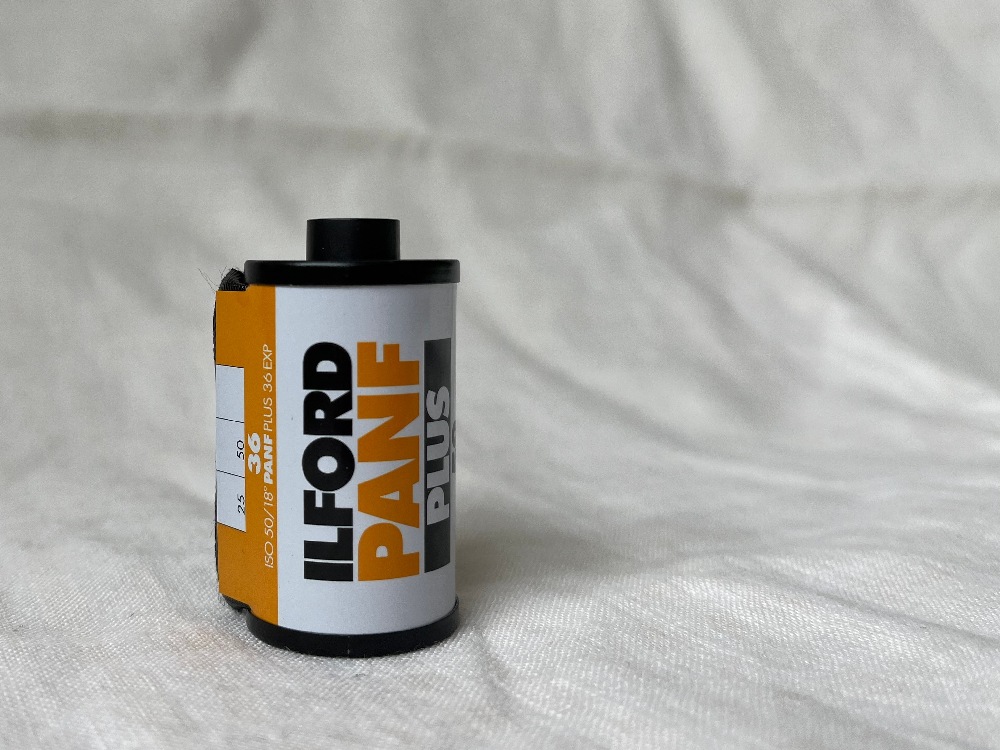
Film: AGFAPHOTO APX100
Development + scan: ON FILM LAB

Fotofail: Kein Ende wider Erwarten

Wie fängt man eine Fotofailgeschichte an?

Vielleicht am Anfang und damit, dass ich eine neue gebrauchte analoge Kamera gekauft hatte und diese vor dem Urlaub natürlich noch auf Herz und Niere testen wollte. Es waren noch knapp drei Wochen zum Urlaub. Mag zwar viel klingen, aber 36 Bilder zu schießen, die irgendwie auch ästhetisch ansprechend waren und nach mir aussehen und nicht nach „einfach mal Film verschießen, um den Film vollzukriegen“ aussehen, dauert schon etwas. Zumindest bei mir. Dann muss man noch die Entwicklungszeiten mit Versandzeit zum Labor mitrechnen. Da ist auf einmal gar nicht mehr sooo viel Zeit.

Die ersten Bilder machte ich von einer Freundin, die zu Besuch war. Auch der Dumplingabend wurde fotografisch festgehalten. Für weitere Fotos beschloss ich, in den Mainzer botanischen Garten zu gehen. A) weil ich dort noch nie war und B) weil botanische Gärten mit ihren floralen Motiven einfach schön sind. An dem Tag war bestes Spätsommer-/Frühherbstwetter, die Sonne schien breit und es hat so viel Spaß gemacht an dem Tag zu fotografieren.

Der Bildzähler näherte sich immer mehr der 36. Ich war stolz auf mich so viel fotografiert zu haben und ich mochte die Motive: Blumen in pink, weiß, rot, violett, interessante Pflanzen und ein Schmetterling. Der Tag neigte sich dem Ende, die Sonne bewegte sich gen Horizont.

Ich hatte die 38 erreicht. Das war für mich nicht ungewöhnlich, oft hatte ich bei manuellen Kameras über die 36 hinaus geschossen. Aber war ich da nicht gerade schon? Ich fotografierte weiter. Und konnte nochmal am Spannhebel ziehen und ein weiteres Foto machen. Und nochmal das gleiche Spiel: weiter ziehen, auslösen. Das konnte doch nicht sein?! Wieso bin ich seit 3 Bildern beim Zählerstand 38?

Langsam dämmerte es mir. Aber ich wollte es nicht wahrhaben. Stattdessen wünschte ich mir, dass ich nicht mehr weiterziehen konnte. Dass es ein Ende gibt und die Kamera mir sagen würde: Stop! Die Filmrolle ist alle, du hast den ganzen Film belichtet!

Das Gegenteil war der Fall: Ich konnte einfach weiter- und weiterziehen. Und musste der Wahrheit ins Gesicht sehen: Ich hatte kein einziges Bild gemacht. Nichts hatte ich fotografiert, all die Motive aus dem botanischen Garten und auch die Bilder meiner Freundinnen – nur eine Erinnerung in meinem Kopf. Nie werde ich davon ein Abbild bekommen. Denn der Film war komplett unbelichtet, kein Lichtstrahl hat es auf den Film geschafft.

Was war passiert?

Die Antwort ist so einfach und so ärgerlich: Ich hatte den Film nicht richtig eingelegt und eingespannt. Entsprechend wurde der Film die ganze Zeit nicht weitergezogen.

Ich musste das verifizieren und machte die Filmklappe auf. Und da lag der Film, ein bisschen lose, wie an dem Tag, an dem ich ihn vermeintlich eingespannt hatte.

Die Wut und der Frust ist mittlerweile verflogen, das Bedauern um die verlorenen Bilder ist noch ein wenig da, wie darüber schreibe.

Das Erste was ich zuhause tat, war ein YouTube Video, in dem erklärt wird wie man einen Film einlegt. Er zeigte Kontrollschritte, die ich seither alle brav befolge.

Und wenn sie es nicht nochmal vermasselt hat, dann fotografiert sie heute noch mit einem richtig eingelegten Film.

Epilog

Eine Woche später ging ich nochmal in den botanischen Garten. So kam es also zu den zwei Malen botanischer Garten innerhalb einer Woche (erzählt im gleichen Post wo auch der Dumplingabend erwähnt wird) und die hier gezeigten Fotos sind entsprechend vom zweiten Besuch. Was den ursprünglichen Test anging: Es hat zeitlich alles geklappt und die Kamera durfte mit auf die Reise.


Camera + lens: Minolta 9000 AF + Minolta AF 100mm Macro f/2.8
Film: Kodak Gold 200
Development + scan: ON FILM LAB

The patterned blouse and the almost-chameleon | study logbook darning

This is how it goes with broken clothes: As small as the hole may be, it may be hidden at its best and no one would ever look at it anyway - but once I have seen it, it's the only thing I will see of this clothing item. If I wore it out, no one would notice the flaw. But I wouldn't really care what the others don't see. The hole is the only thing I see.
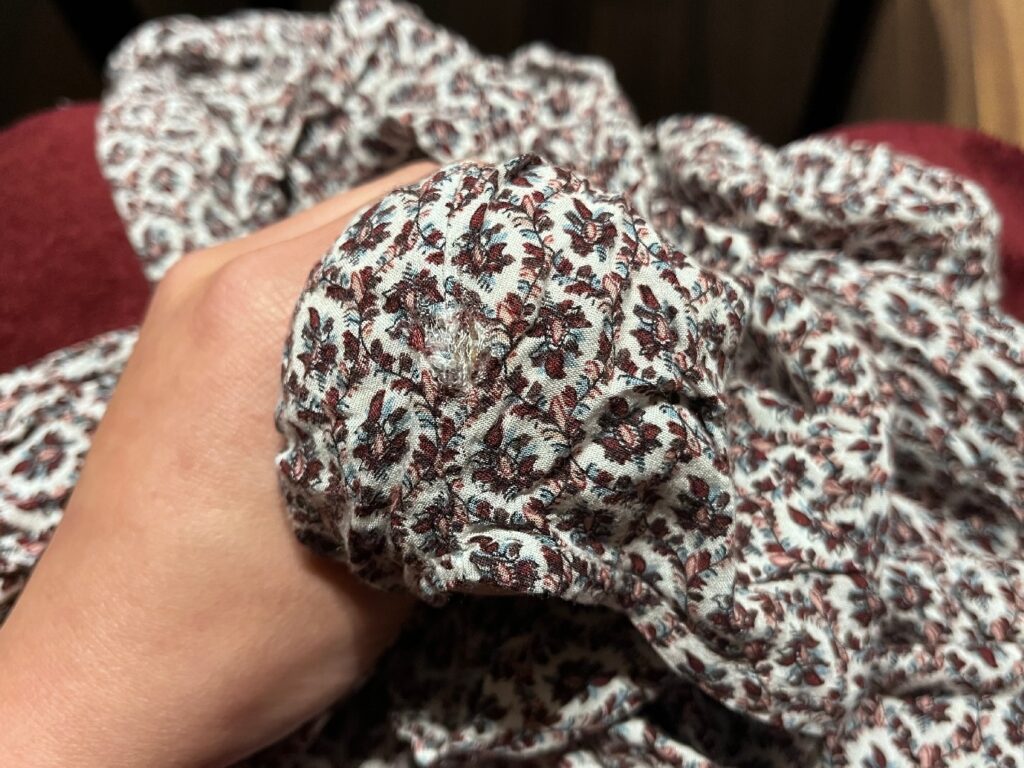
That's what happened to the patterned blouse.

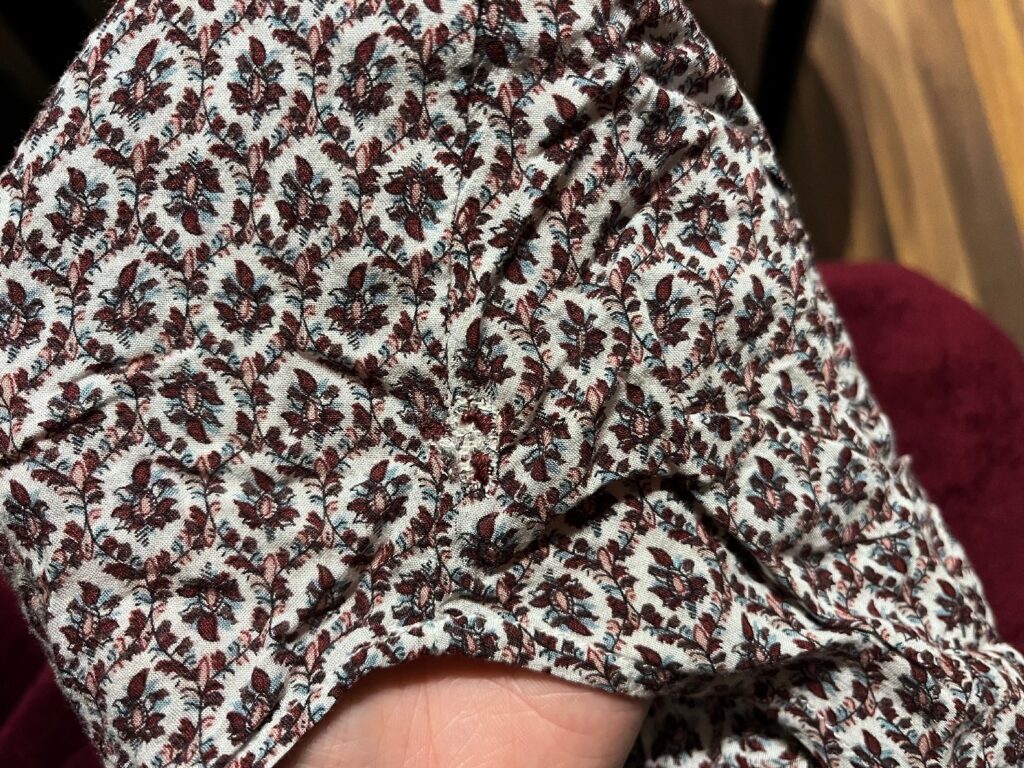
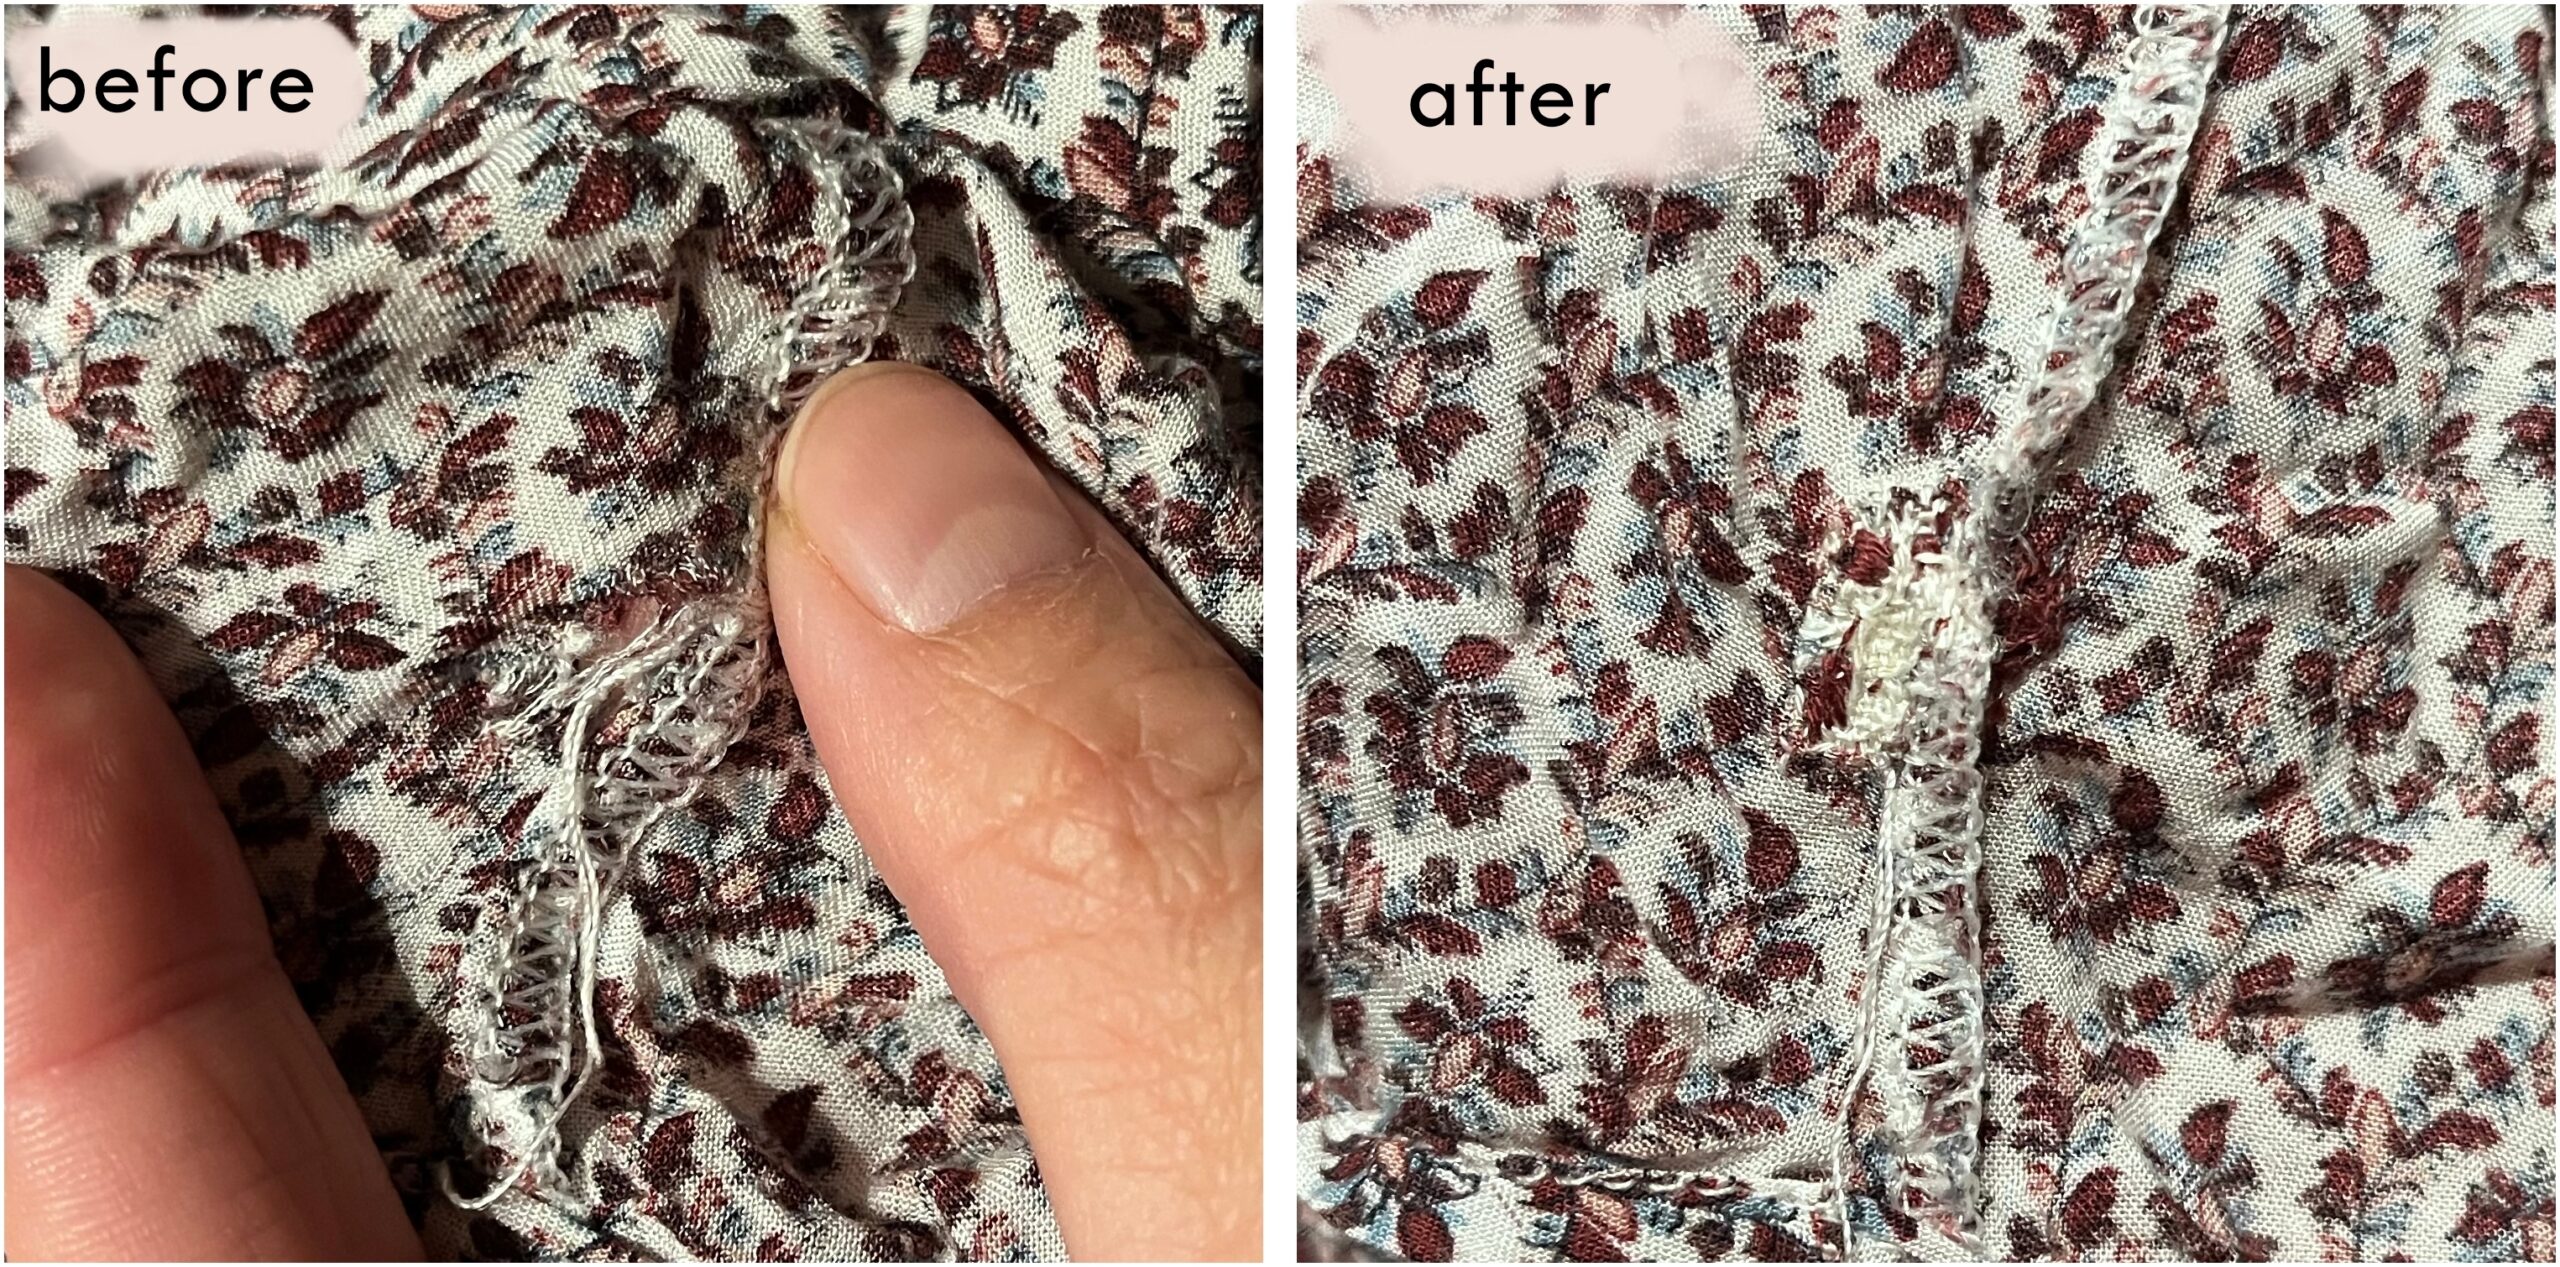
On the right side, at the seam where the front and back are joined together, quite far down and close to the hem, a tear had crept in. This looked like a hole at a bad angle. Accordingly, the patterned blouse was placed on the repair pile. In preparation for the trip last autumn, I went through my clothes - even the ones that were on the repair pile. And I actually picked three items for the trip from that pile. It was probably only a few weeks until the day of departure. And the clothes had been on the pile for two years at least and, in the spirit of the "out of sight, out of mind" principle, their existence had been completely forgotten in the meantime. So how likely was it that these three items would make it back to life?

The preparation phase

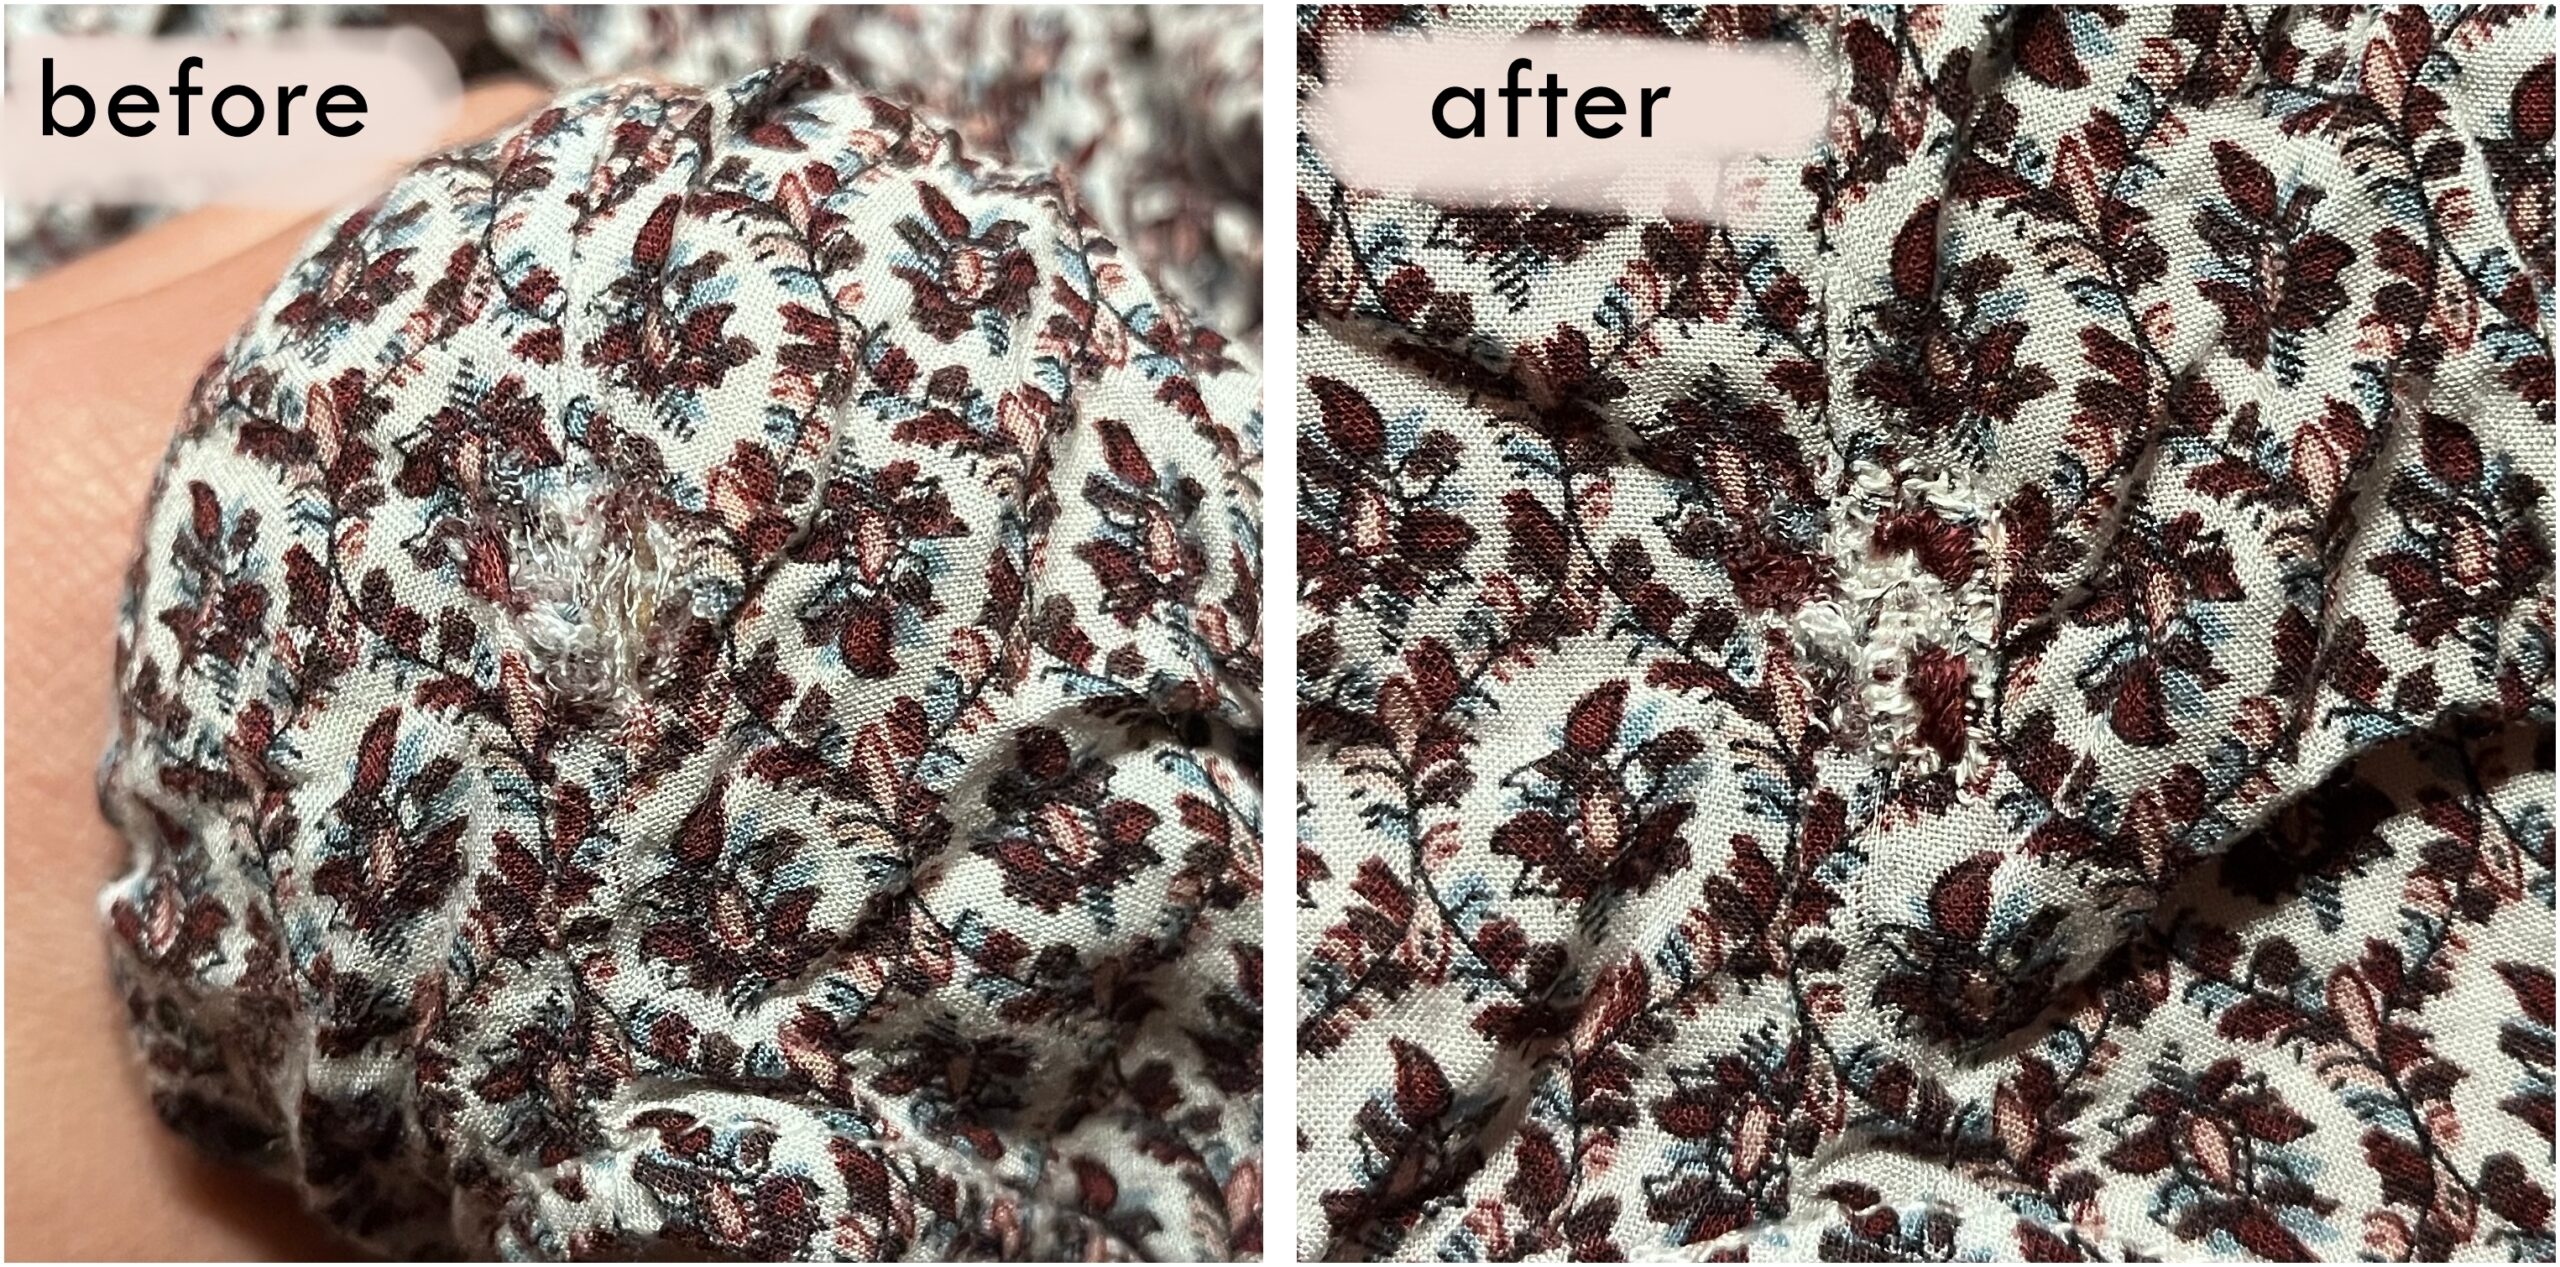
Ich wollte das Muster mehr oder weniger nachbilden, also unsichtbar stopfen. Entsprechend mit weißem Garn erst mal die Fläche wiederherstellen, dann mit rotem Garn irgendwie das Muster nachmachen. Ohne wäre der dann pure white blob would have been too obvious for me amidst of the whole pattern.

The implemenation phase

Für die weiße Fläche habe ich die Webstopfmethode genutzt. An einer Naht zu arbeiten ist nicht so angenehm wie auf einer reinen Fläche, v.a. weil sich das Loch/Riss zu beiden Seiten erstreckte. Der Weißton meines Garns ist zu warm, aber sei‘s drum. Mit rotem Garn habe ich dann gestickt, und habe mich an den Formen auf der Bluse orientiert, so Mini-Blätter. Ich habe wenig Stickerfahrung und habe das entsprechend eher Freestyle gemacht.

The photo stamps tell me that it took about 1.5 hours in one day.

The finalization phase

It's not a completely invisible repair but I still think it was successful and the embroidery part was something new to me. I didn't do a super clean job but in the end the hole is gone and the blouse is wearable again. The blouse was allowed to travel with me. Mission completed! 
Thoughts during the process

What amazes me again and again: the working time and the waiting time are in stark contrast to each other. It's almost ridiculous.

The clothes had been on the repair pile for at least two years. This repair took me 1.5 hours - this is about the length of a feature film. If I had invested this time sometime earlier - and it is a foreseeable time - then the blouse would have become part of my wardrobe again much sooner with a reasonable expenditure of energy.

Sicherlich, in ebendieser Zeit habe ich einiges gelernt und bin selbstsicherer geworden was die Methoden angeht. Aber oft geht es erst mal darum, den Makel irgendwie mal angefasst zu haben und um den Versuch es zu reparieren. Das ist das, was ich von dieser und anderen Reparaturen mitnehme: einfach mal dransetzen und machen!
(Spoiler: I managed to get all three items back in shape and ready for the trip!)