My repair date: 3.66 pieces
In March I announced my repair date (by the way, the date was postponed several times 😆). I wanted to make things cosy for my repair date, including the documentation work. On the one hand, this meant that the atmosphere for the repair date itself should be relaxed, on the other hand, taking the photos shouldn't feel toooo much like work. Based on this, I drew up a checklist of things I could prepare so that I could concentrate on the repairs on the day of doing the repairs. Preparation included preparing something for my ears (podcast list), something for thirst (a pot of tea) and something for hunger (pretzel sticks). The clothes had already been picked out in advance, so I knew which broken parts awaited me and was all the more excited. And then, on one of the many May bank holidays, the time had come!
Yield: 3.66 pieces repaired.
Details of the yield follows now. Click on the photos to enlarge them.
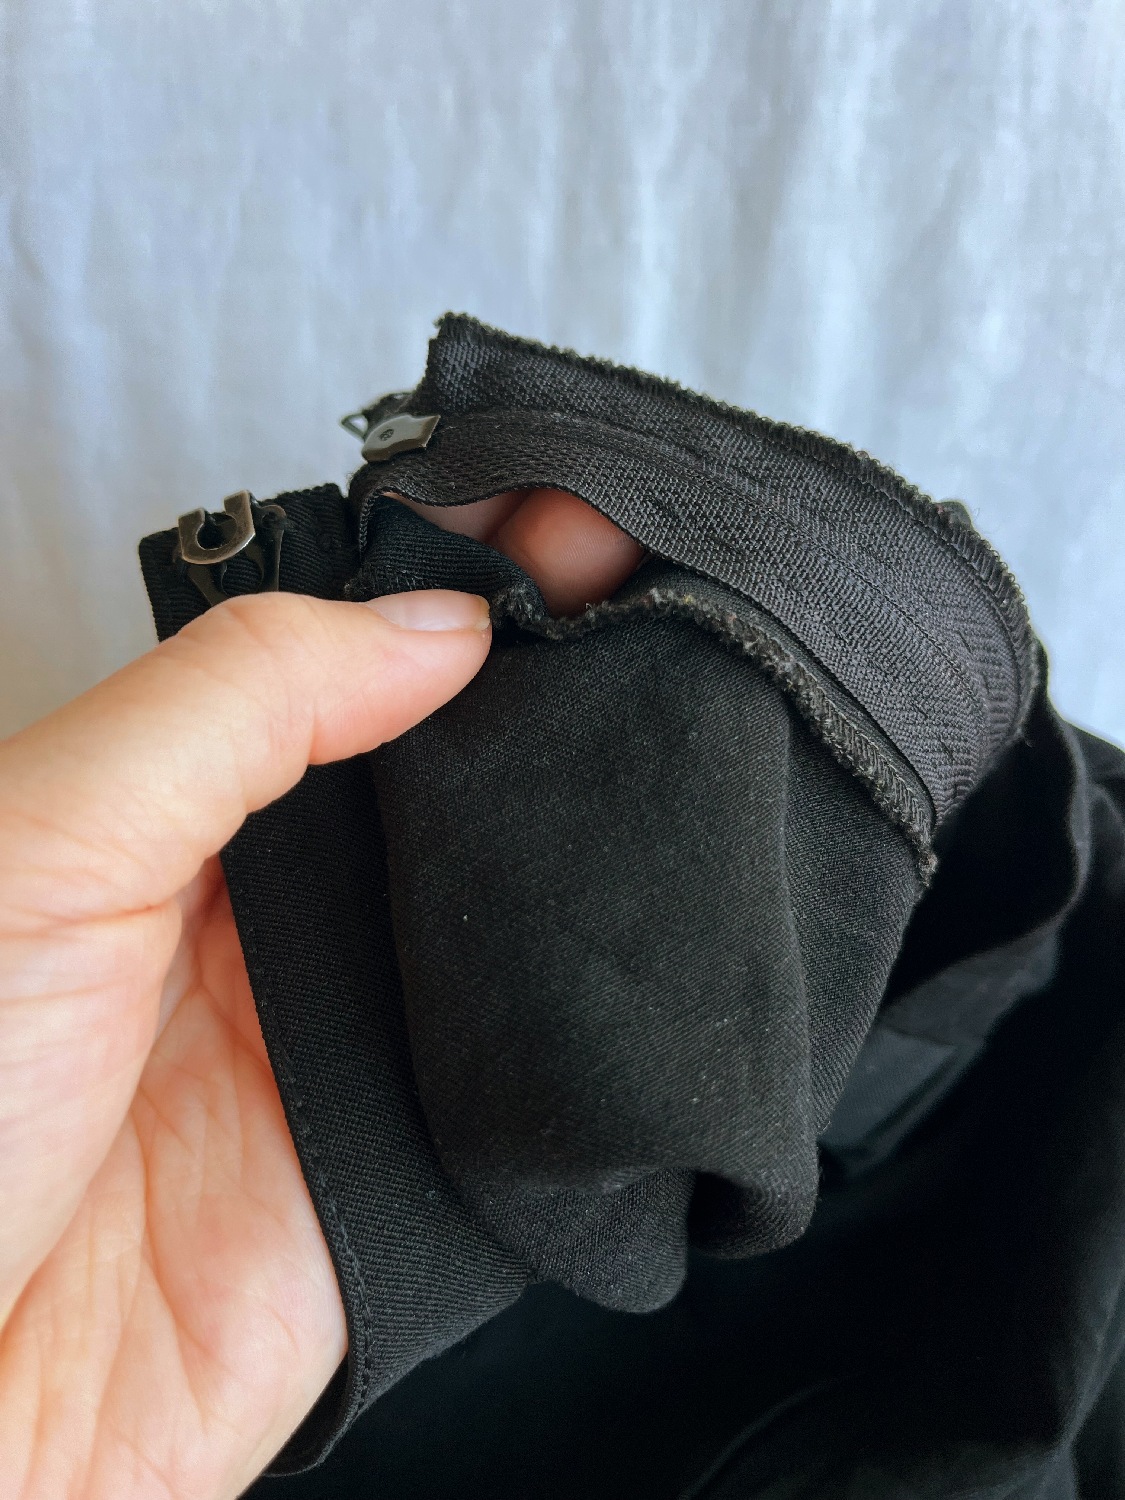
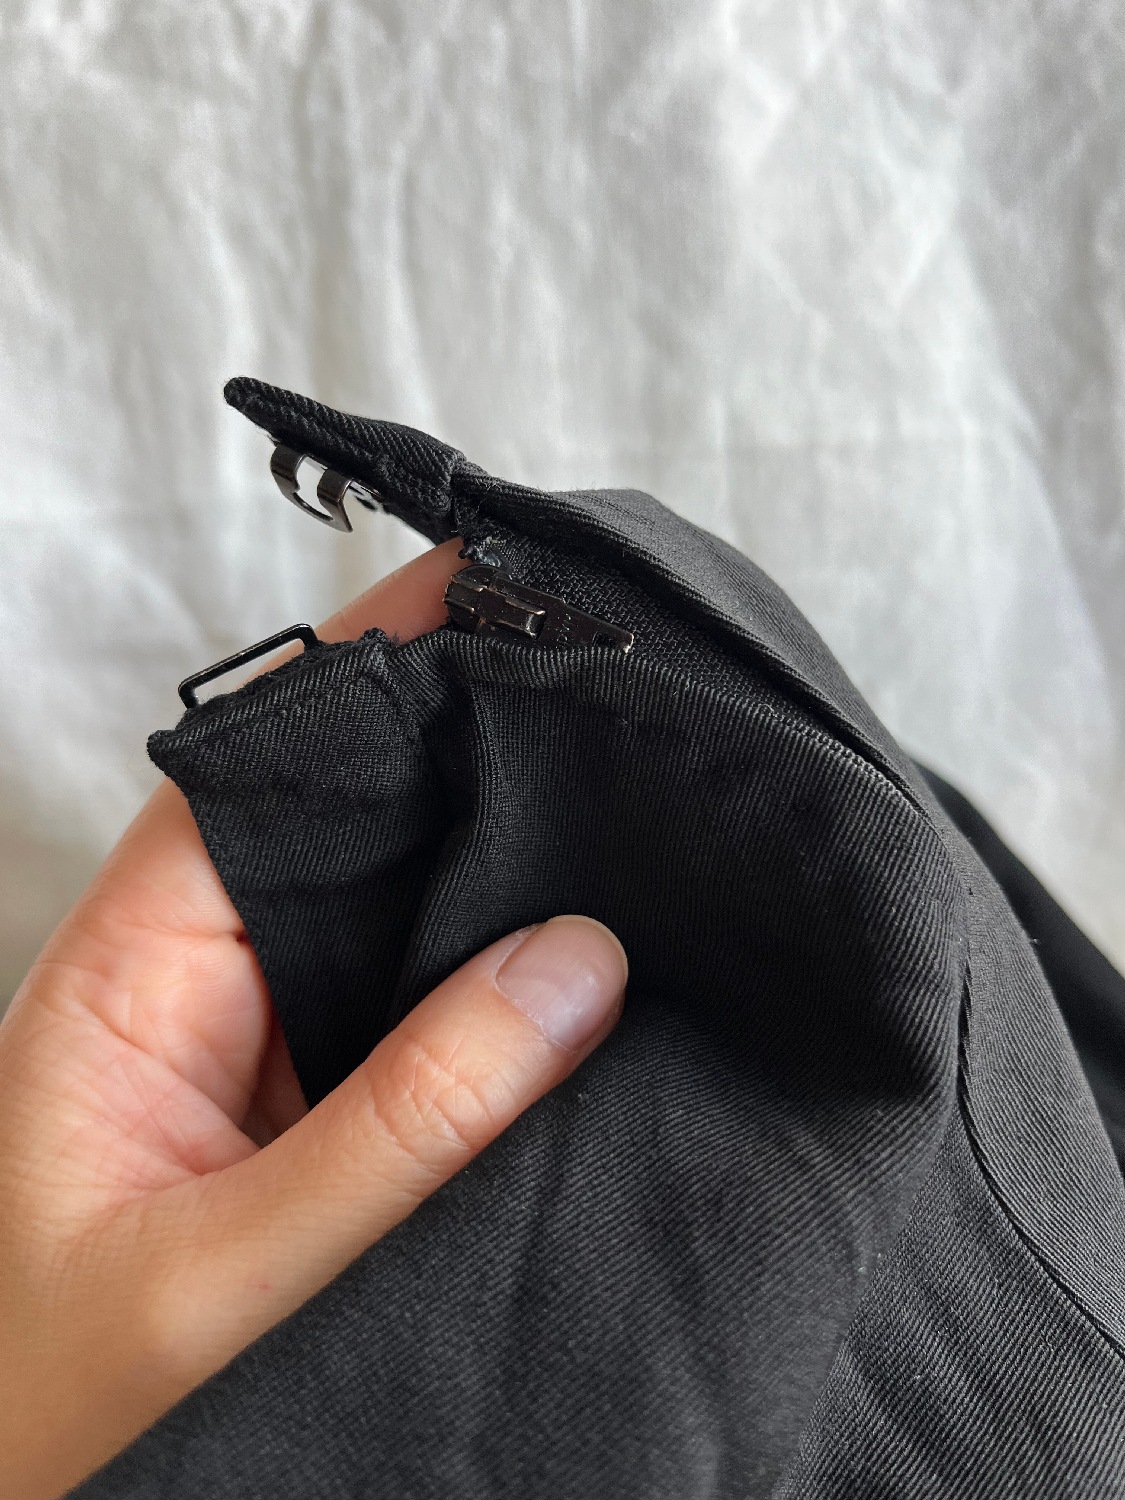
Piece 1: black skirt
The seam connecting the zip and the skirt came went to pieces. To prevent it from getting worse, I wanted to sew the zip back on properly. I did this with the so-called slip stitch (also called mattress stitch, ladder stitch; a great stitch because the thread "disappears" and the seam is therefore "invisible"). It went very quickly, max. 10 minutes.


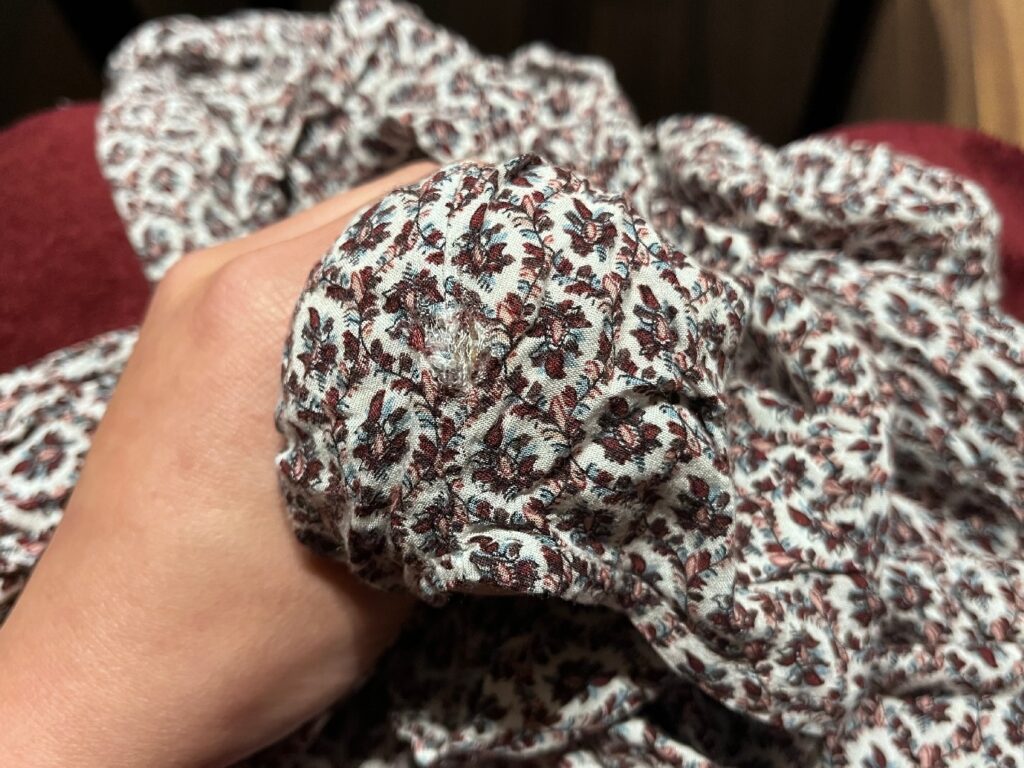
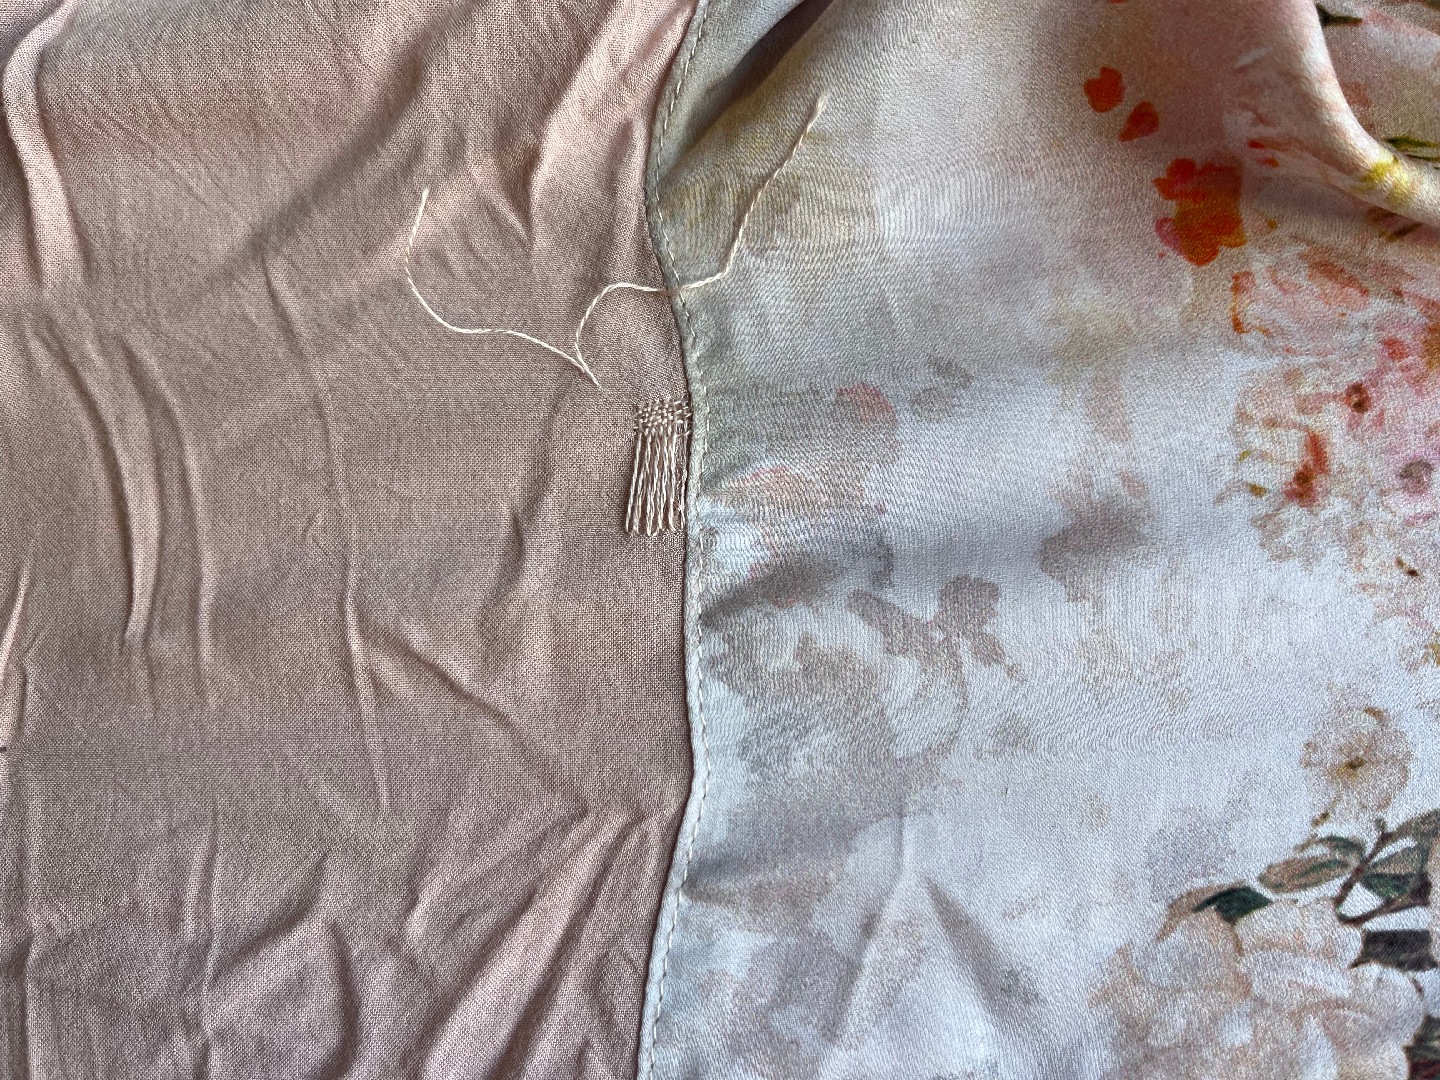
Piece 2: dusky pink top with flower print
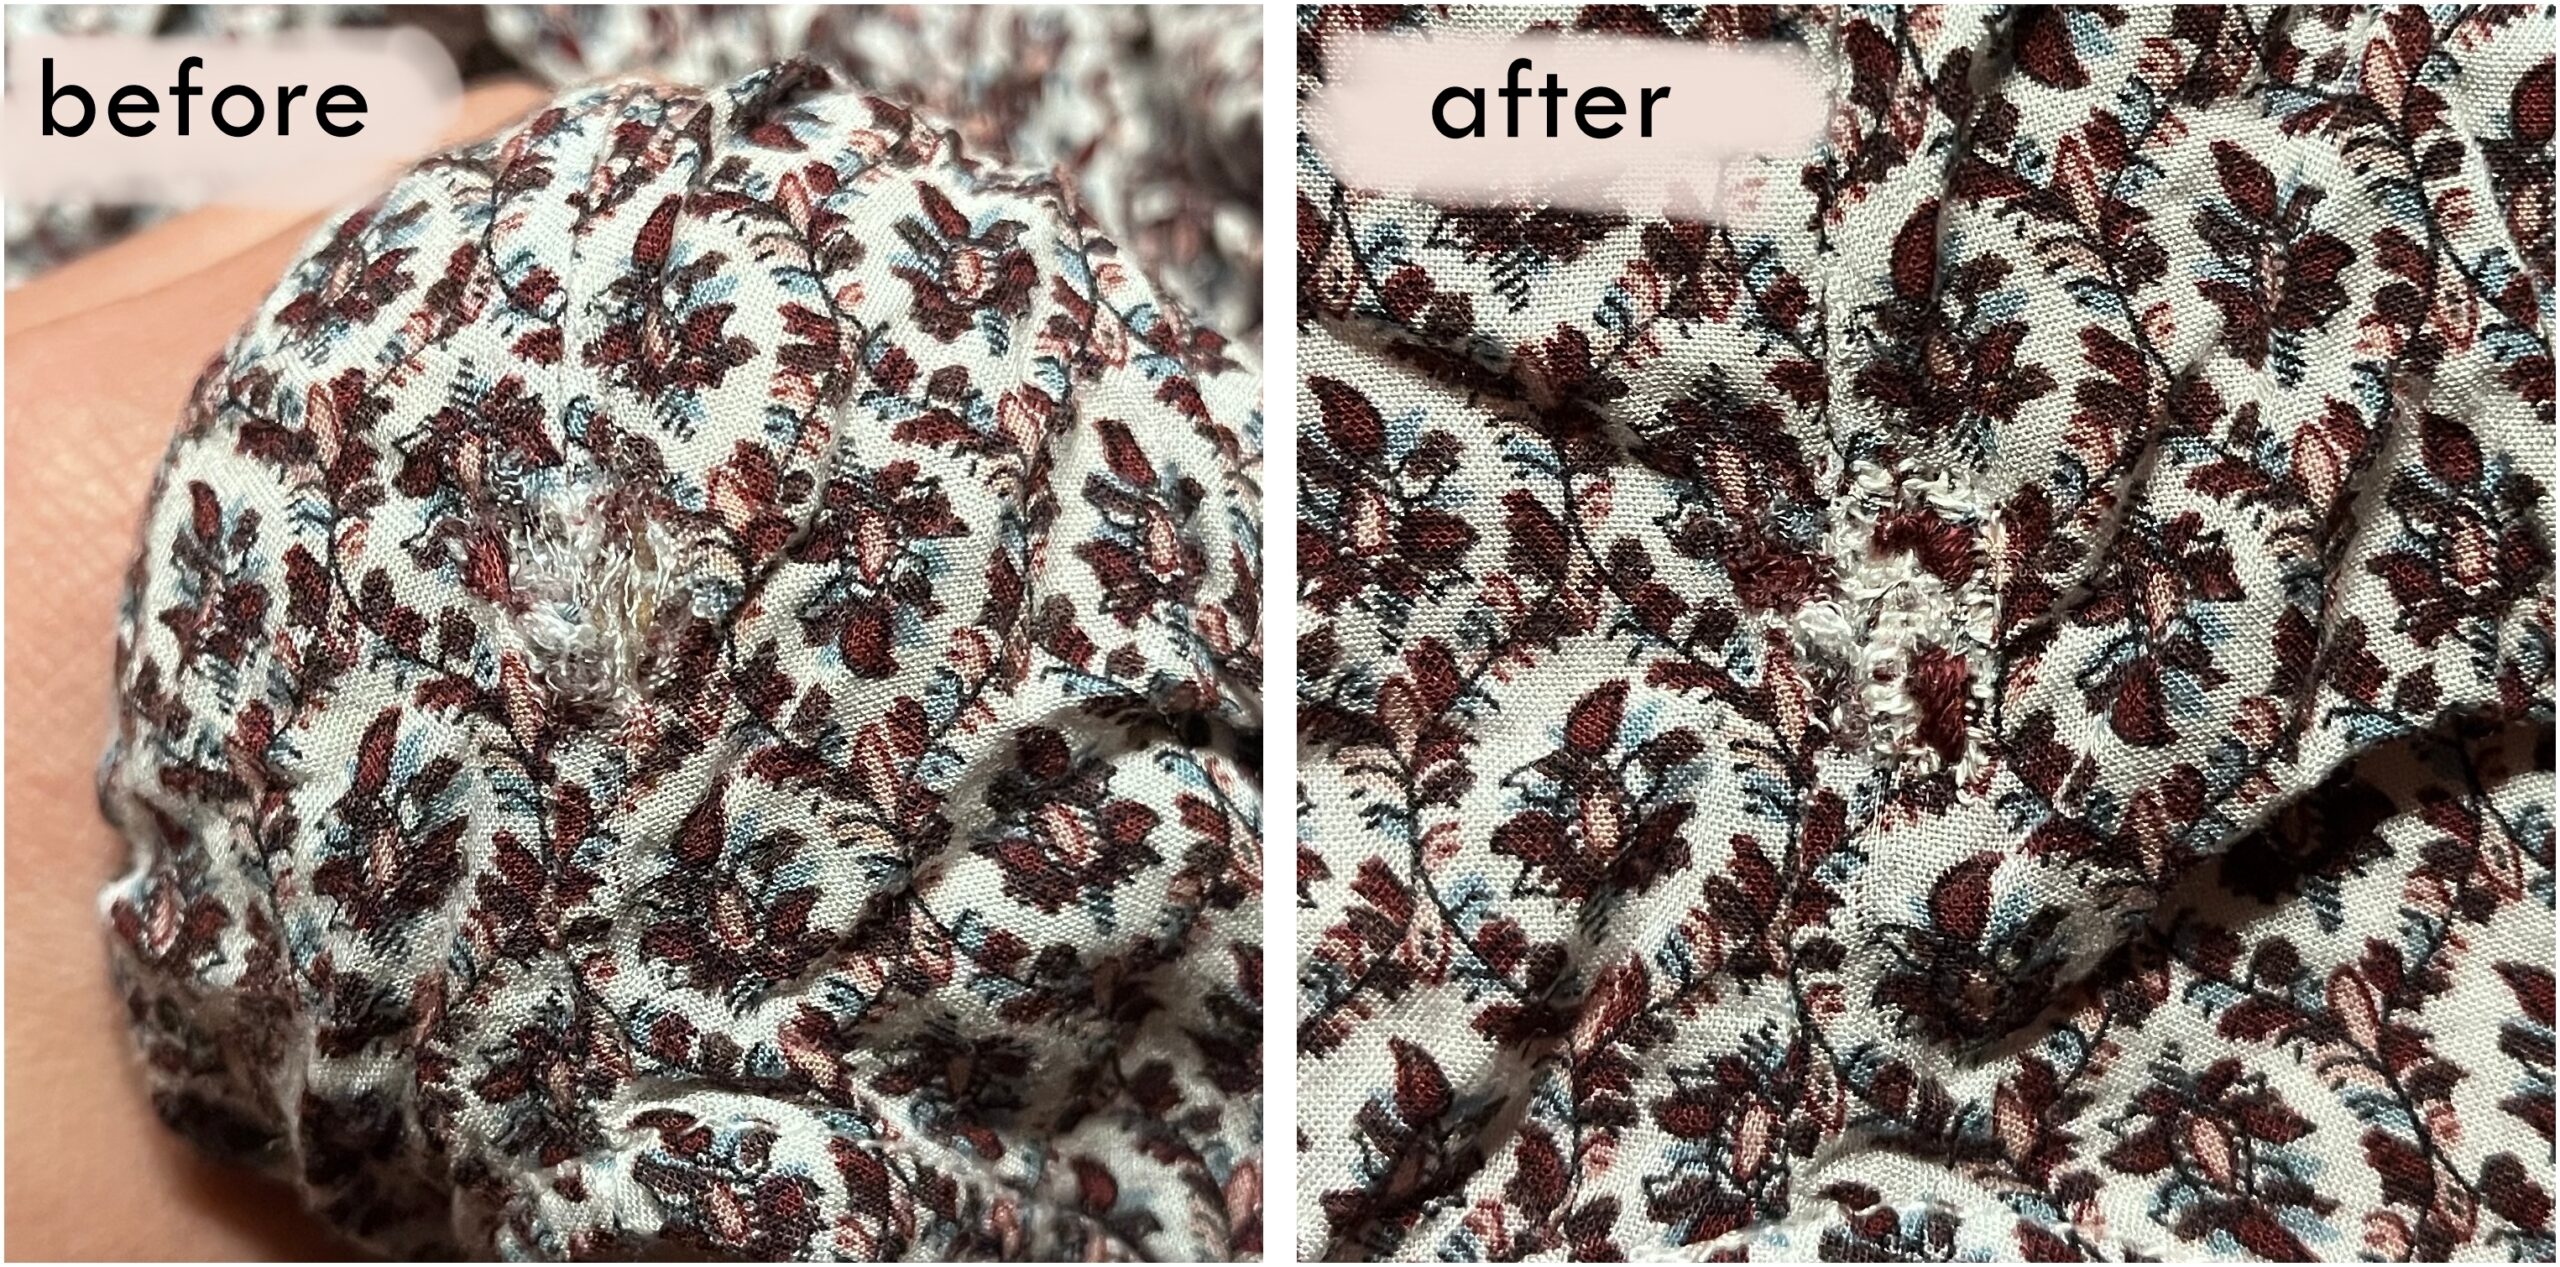
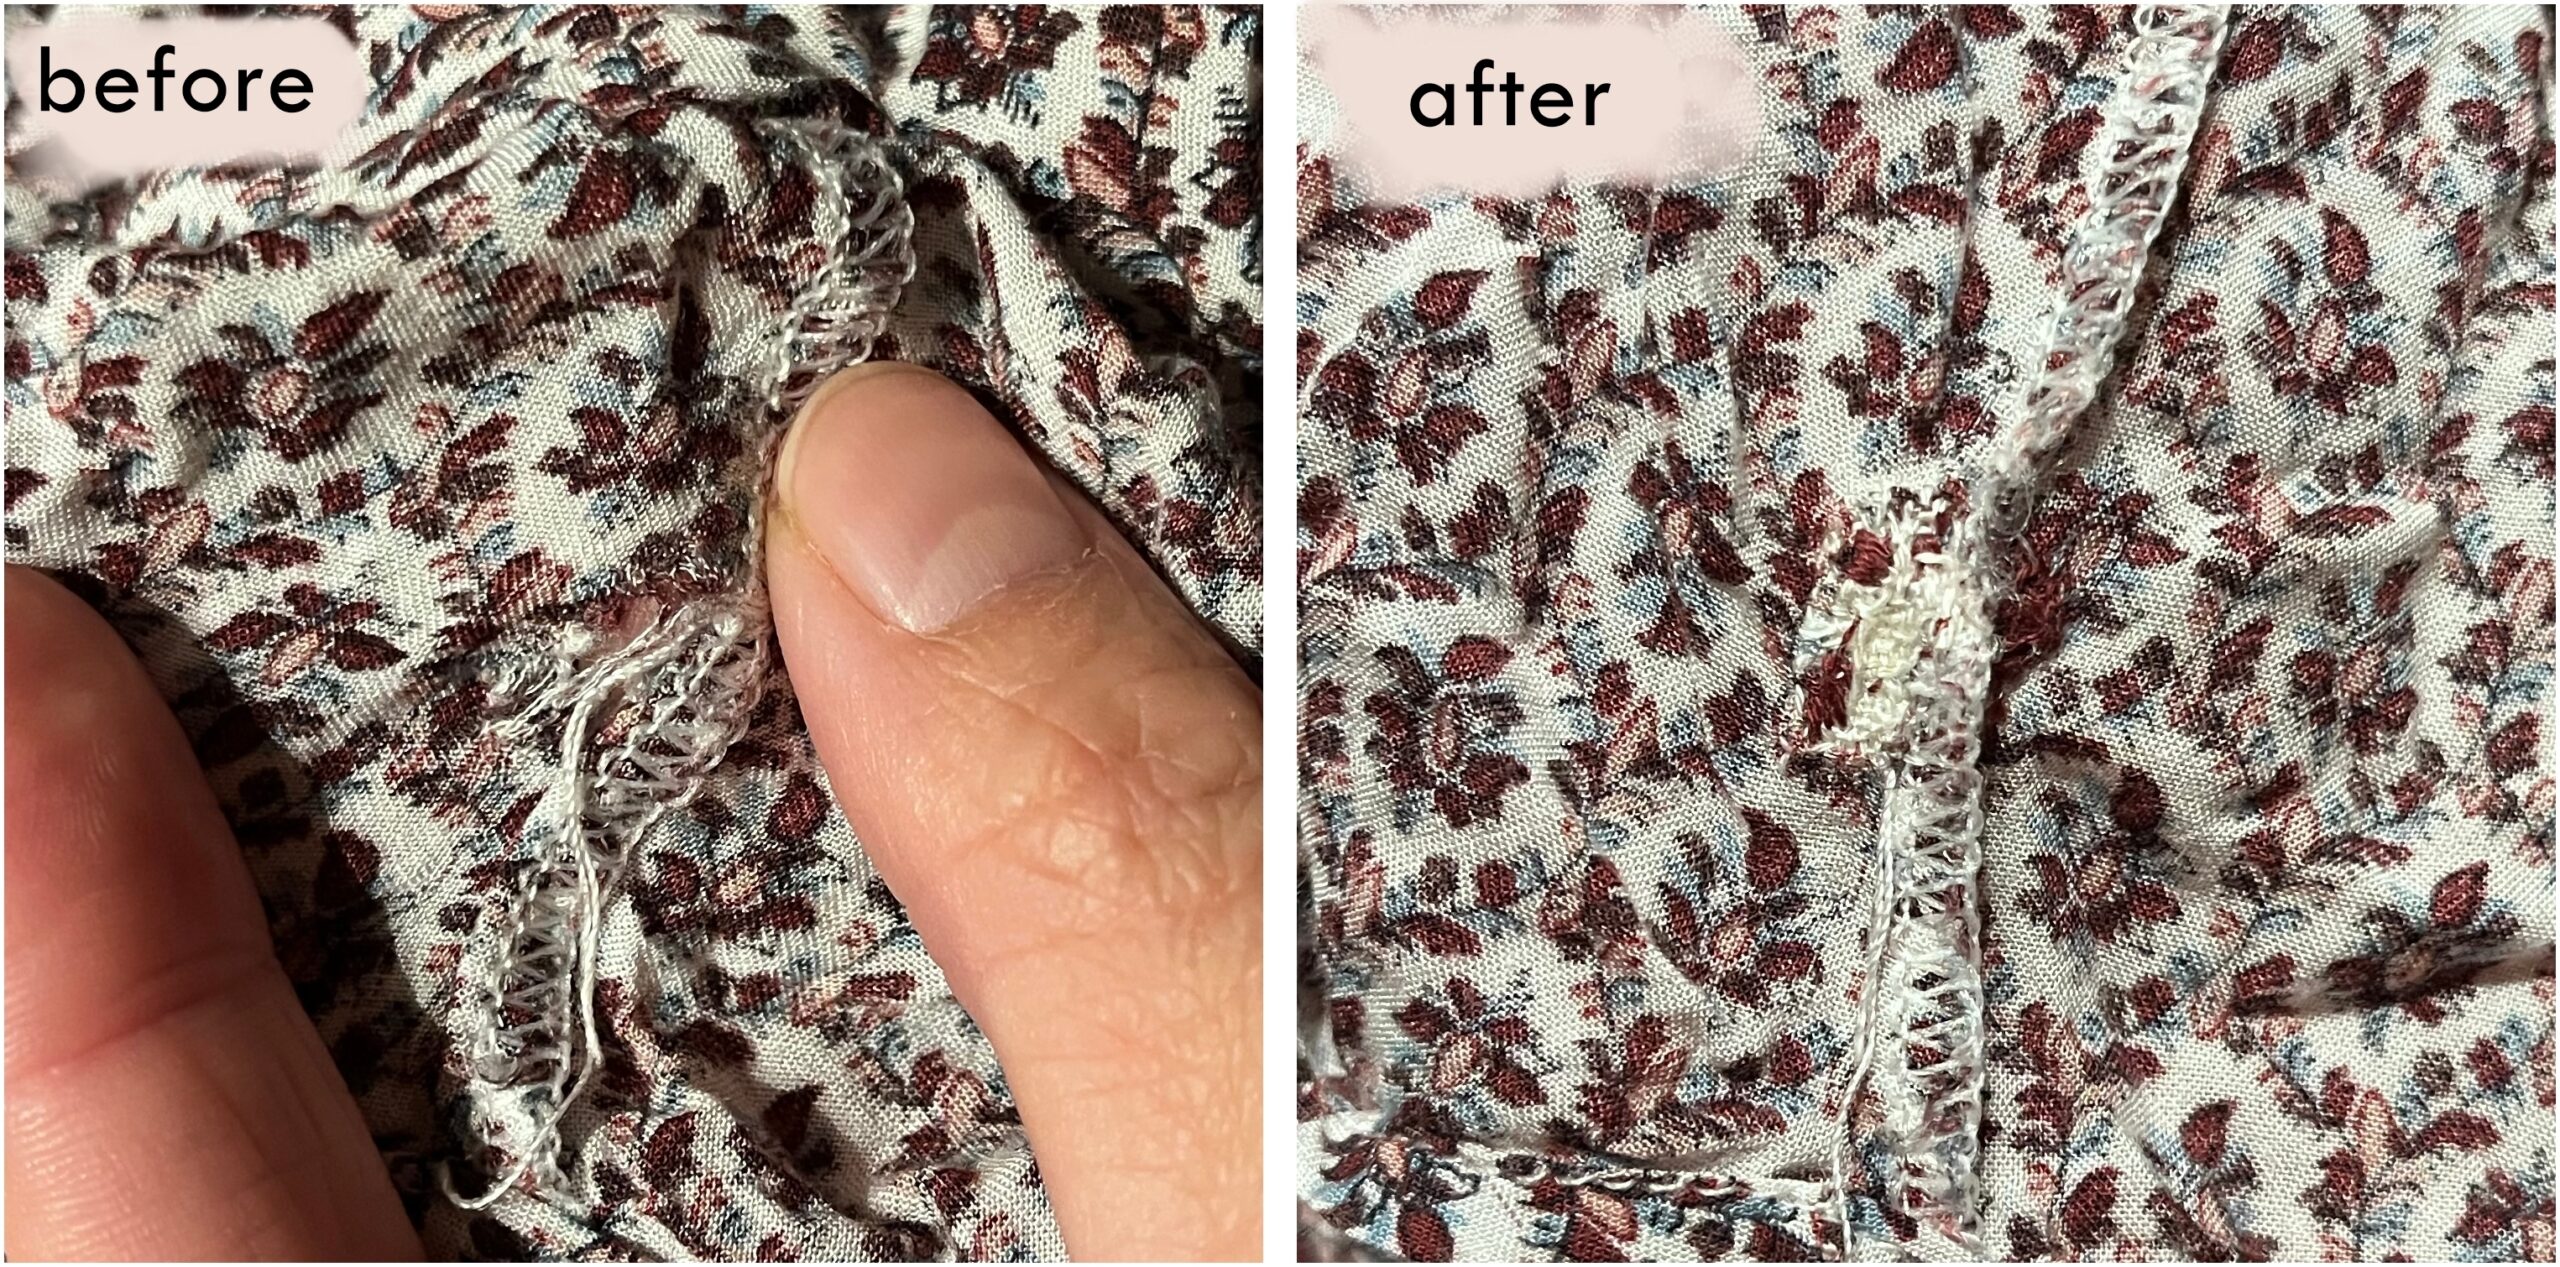
I had a tear in the seam on the right-hand side where the front and back are joined. 1 cm x 0.5 cm. I don't like these areas at all because the proximity to the seam always overwhelms me. I had actually already started the repair during a repair workshop at Fashion Revolution Week in April (organized by Fashion Revolution Germany / Frankfurt) and had used the weaving method.
I continued darning during my repair date. I am so happy about the colour similarity. In this case it was not darning thread I used, but embroidery thread (1 of 6 threads) and I had the thread from the repertoire of the workshop leader (Ekaterina Haak, whom I have mentioned elsewhere). The darned area is actually visible but if it's the right angle, the darned area blends in well with the garment.


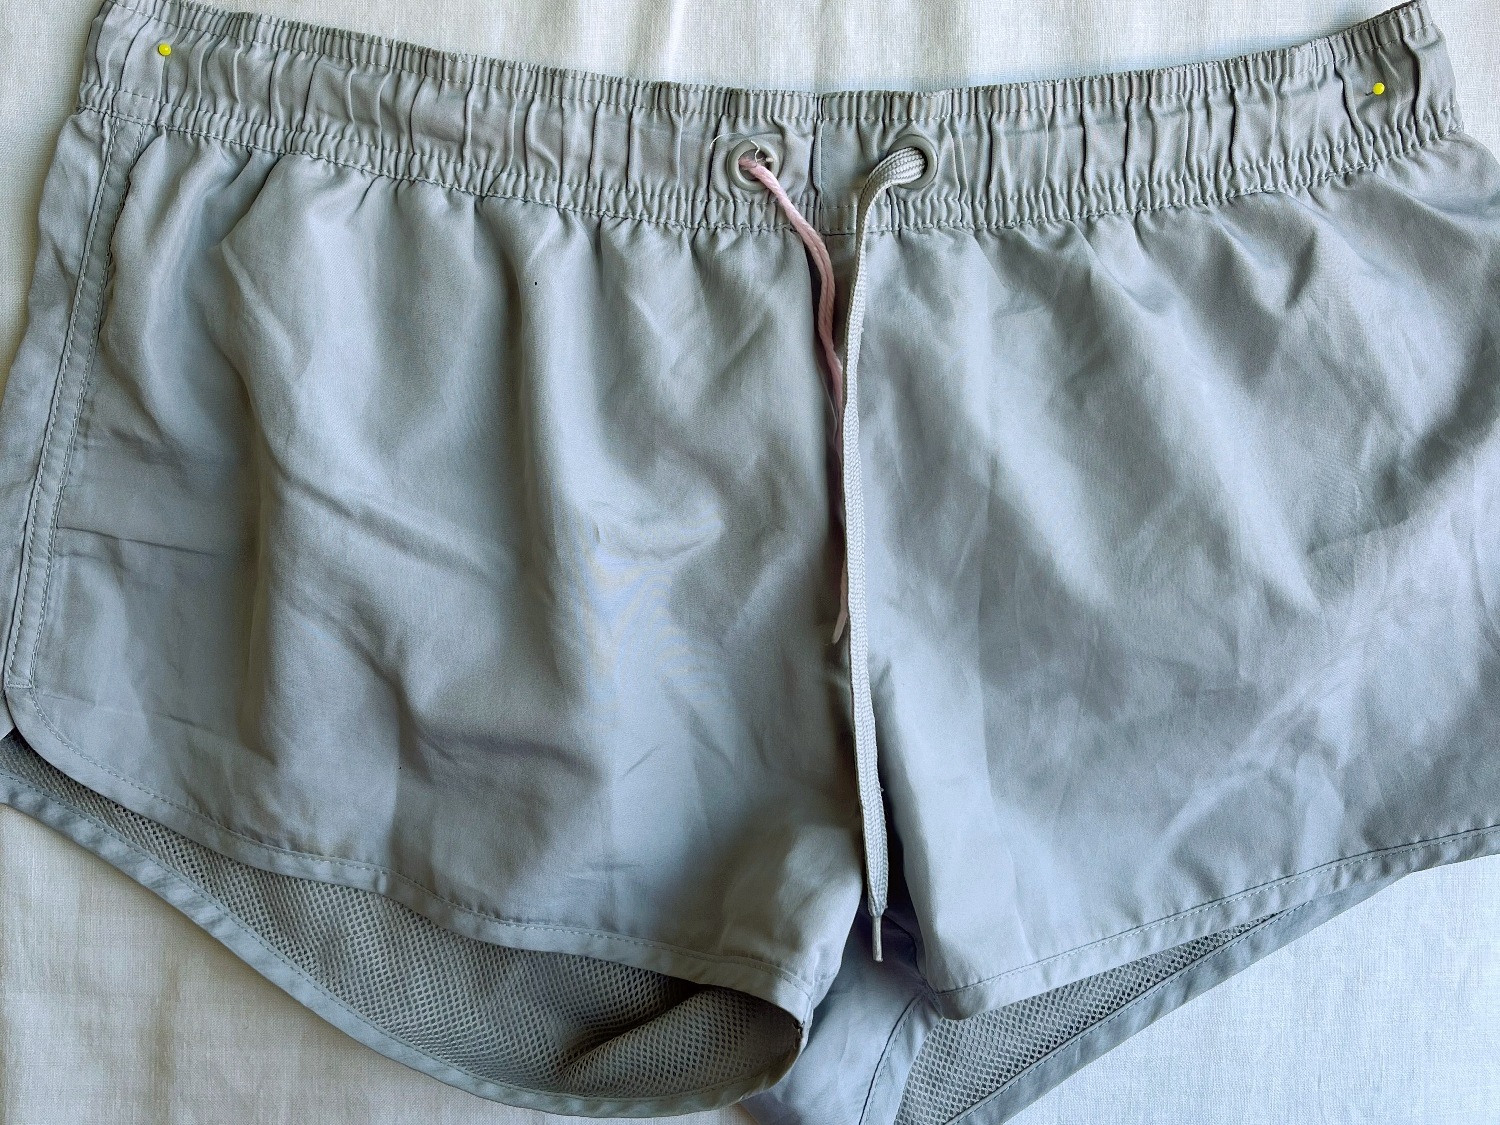
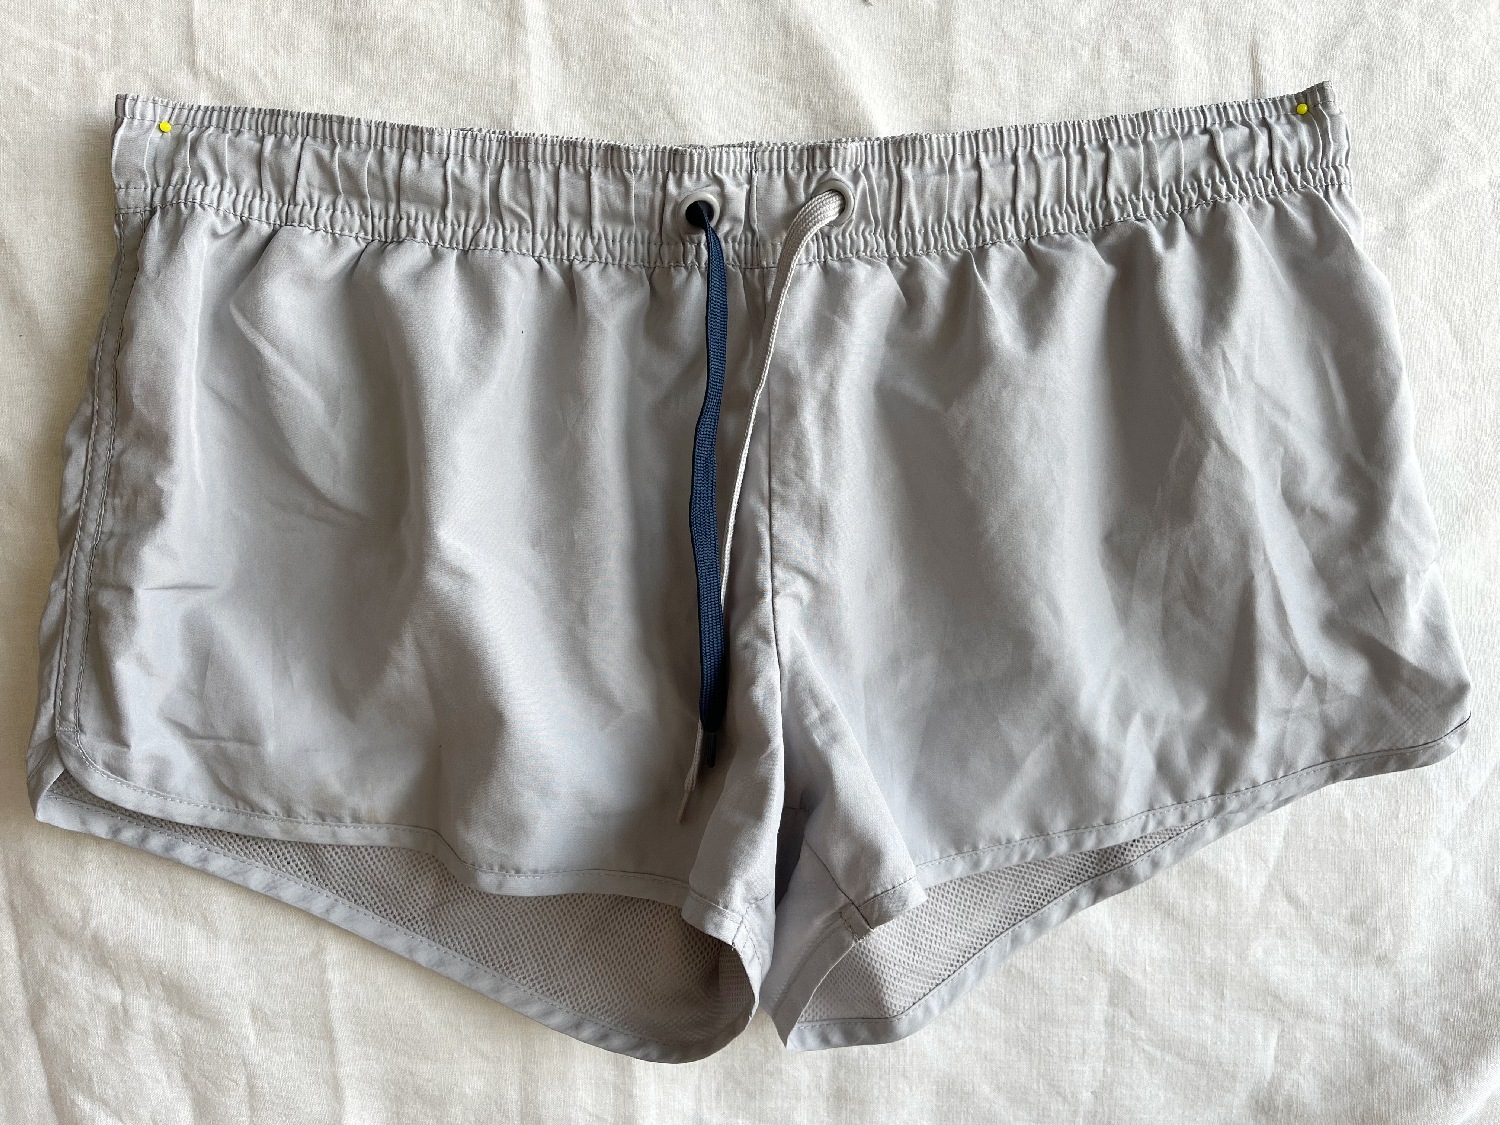
Piece 3: grey sports shorts
That was the most exciting repair of the day.
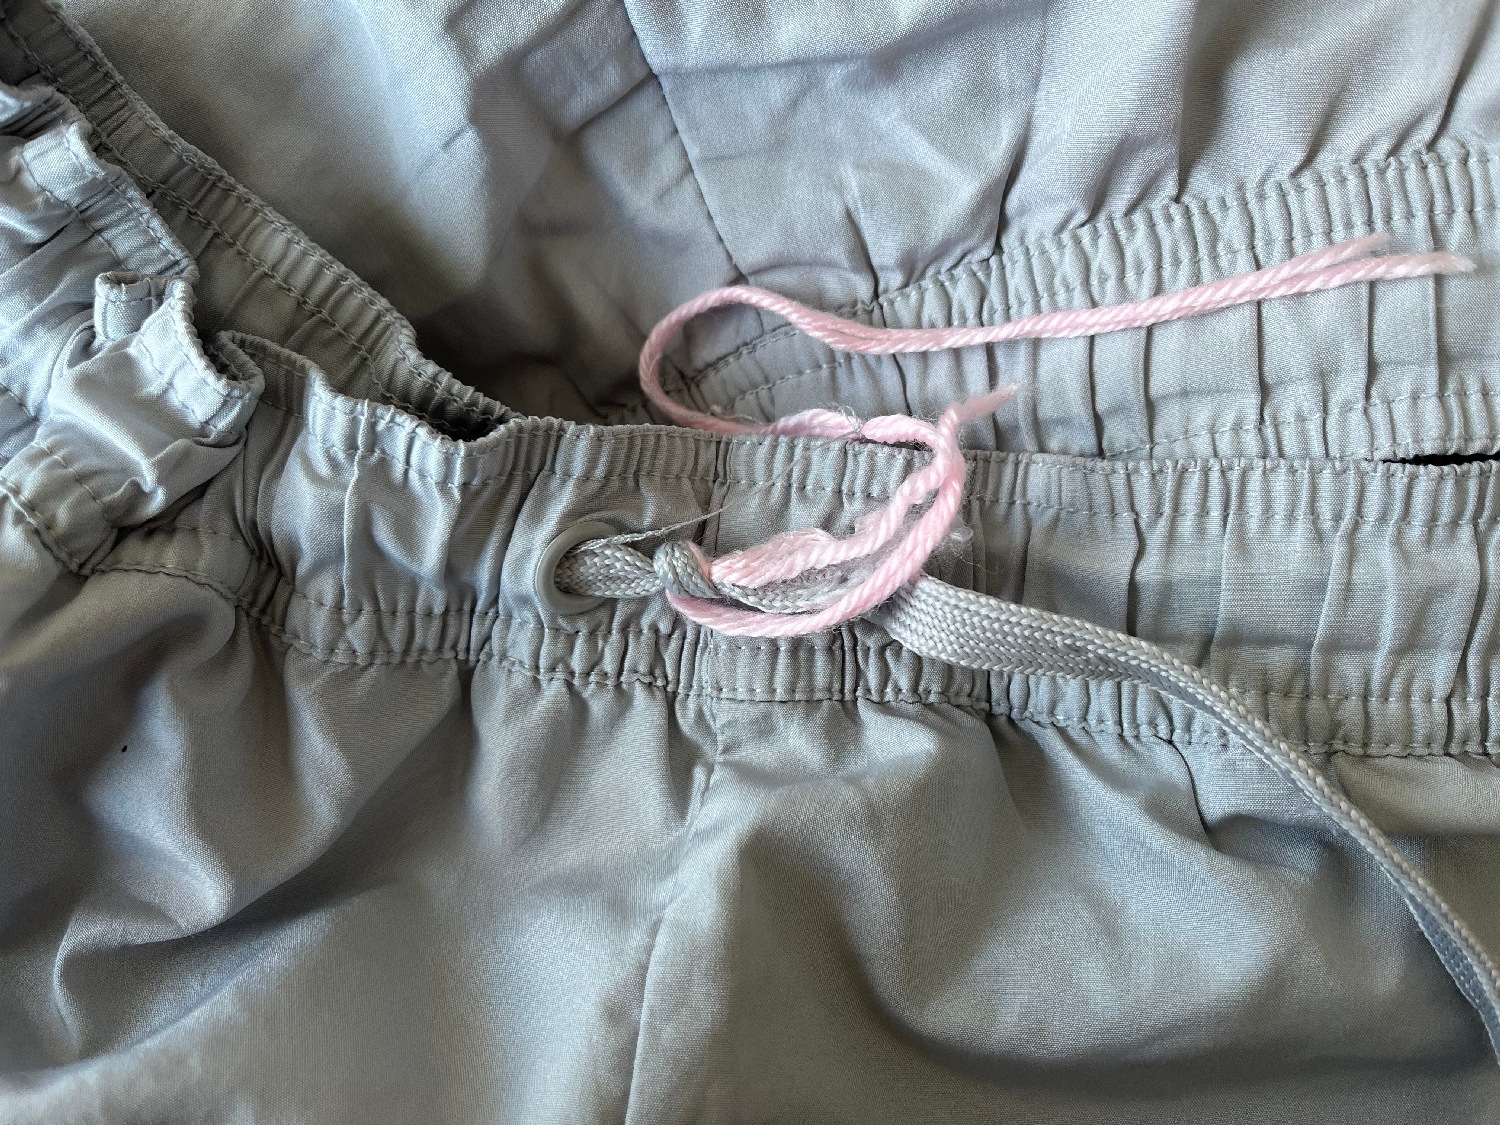
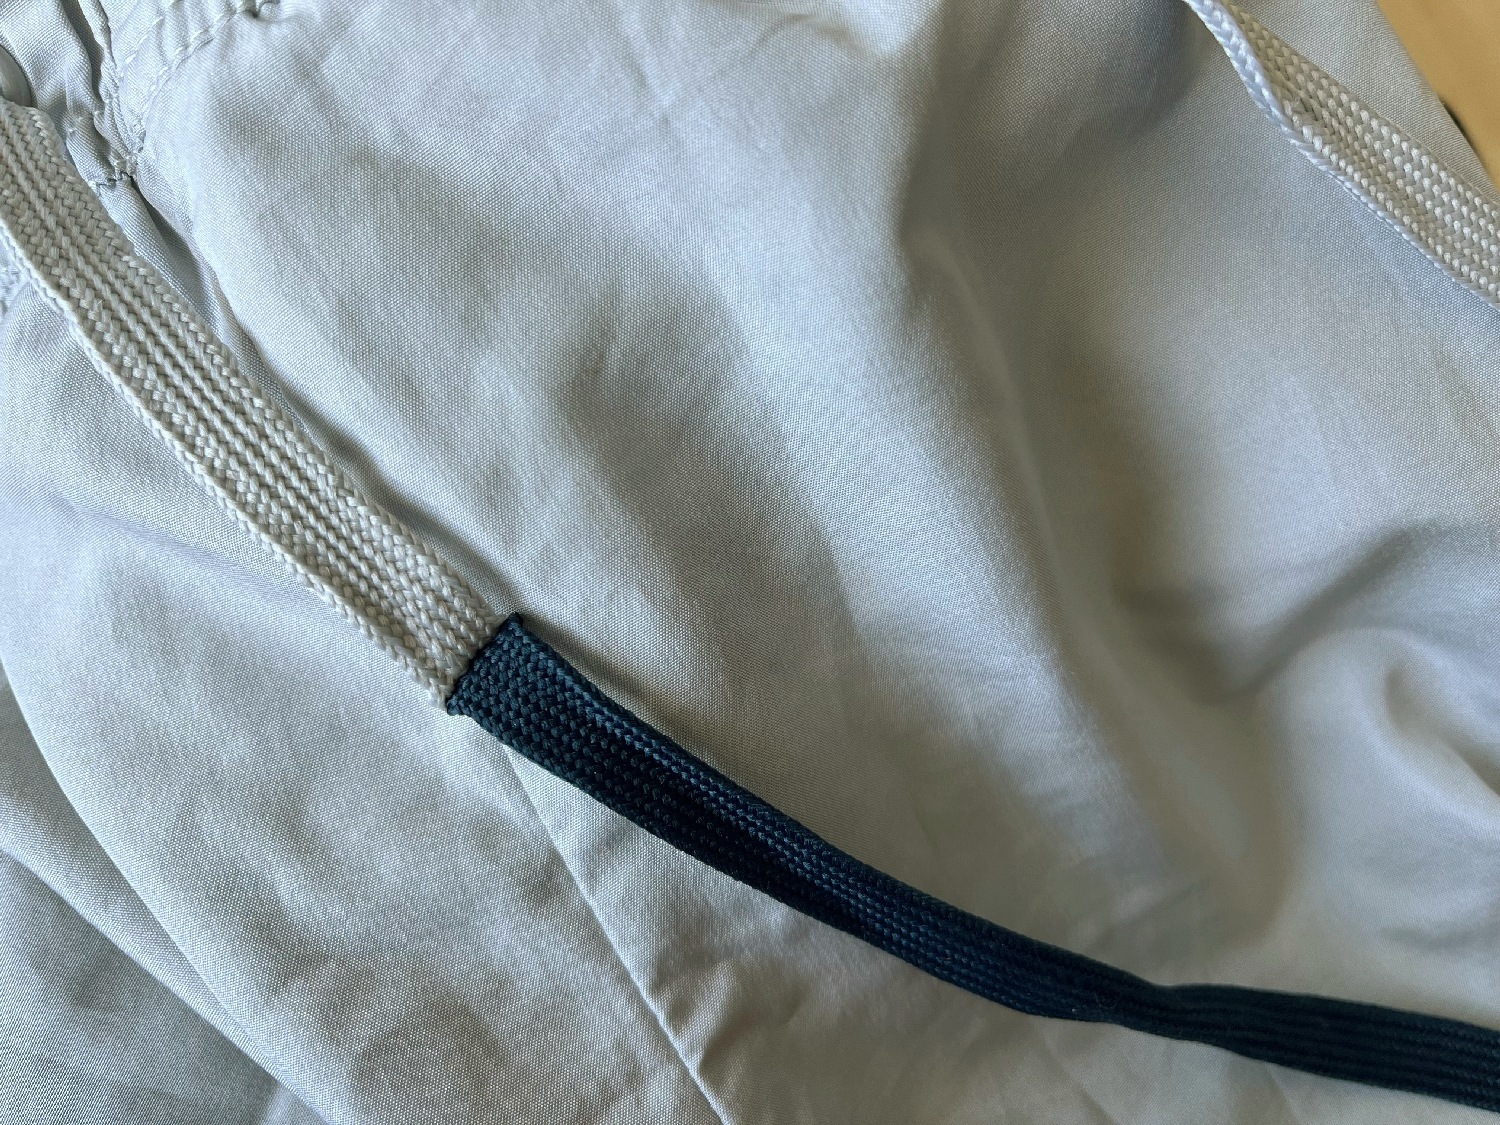
The trousers have a waistband cord but actually, there are two cords sewn into the centre in the back. The right-sided ripped somewhere in the middle. To make the trousers somehow usable again, I had used some yarn to lengthen the right-sided waistband. It looked too odd to me and ended up in the as-long-as-you-look-like-this-I-don't-wear-you pile.
For the repair, I rummaged around to see if I had anything that looked similar to the cord and found an old shoelace, half of which had been torn off as well. Ideal!
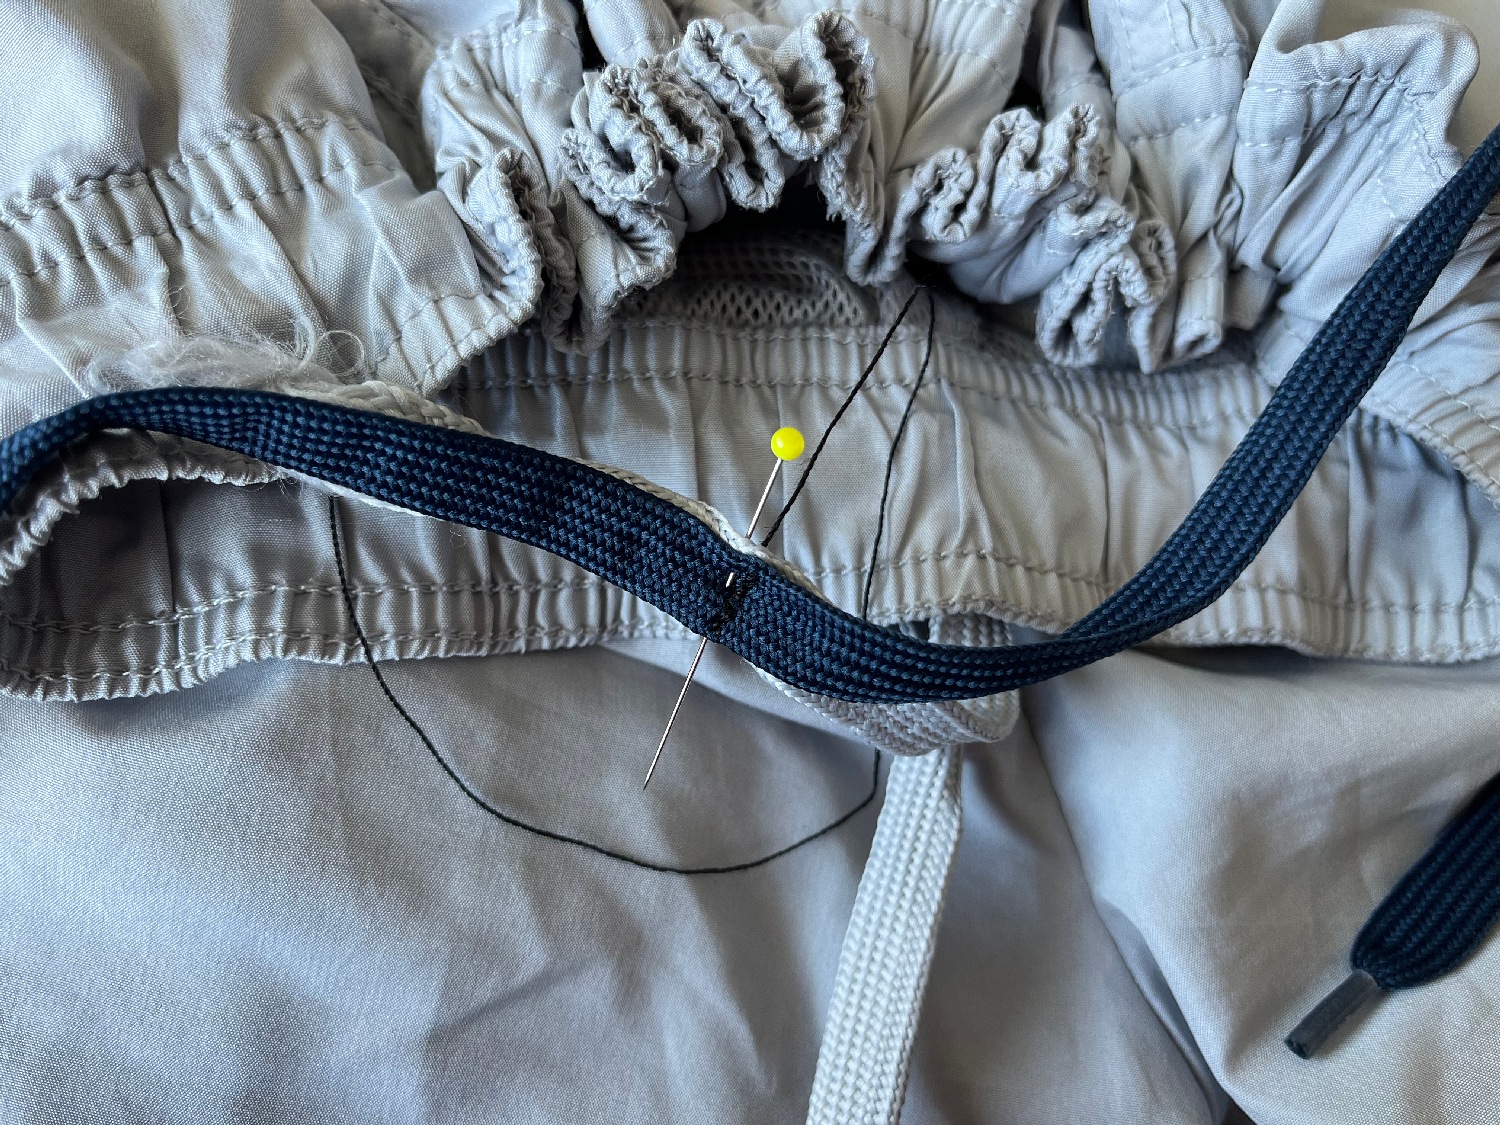
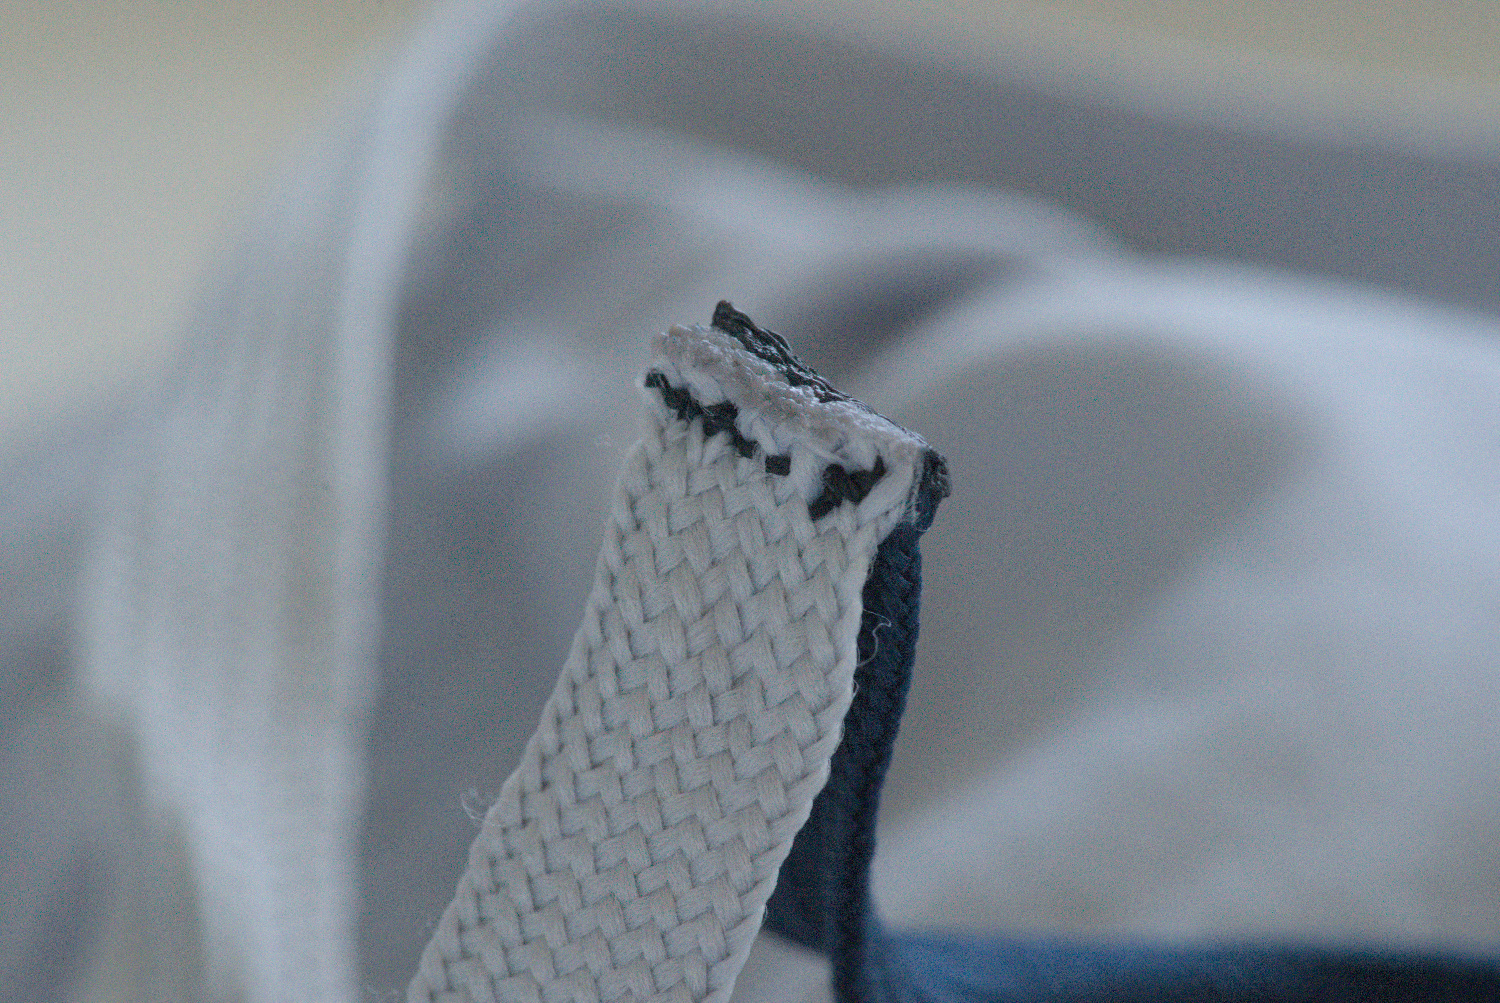
So I took off the yarn (pink) and then sewed the two loose ends of the cords (waistband cord on trousers and shoelaces) together with lots of stitches. Then I cut off the loose, frayed ends and melted them with a lighter. This left the ends clean and minimized the likelihood of it coming undone again. The join disappears into the waistband anyway + I have a two-coloured waistband cord now. Pretty cool 😀

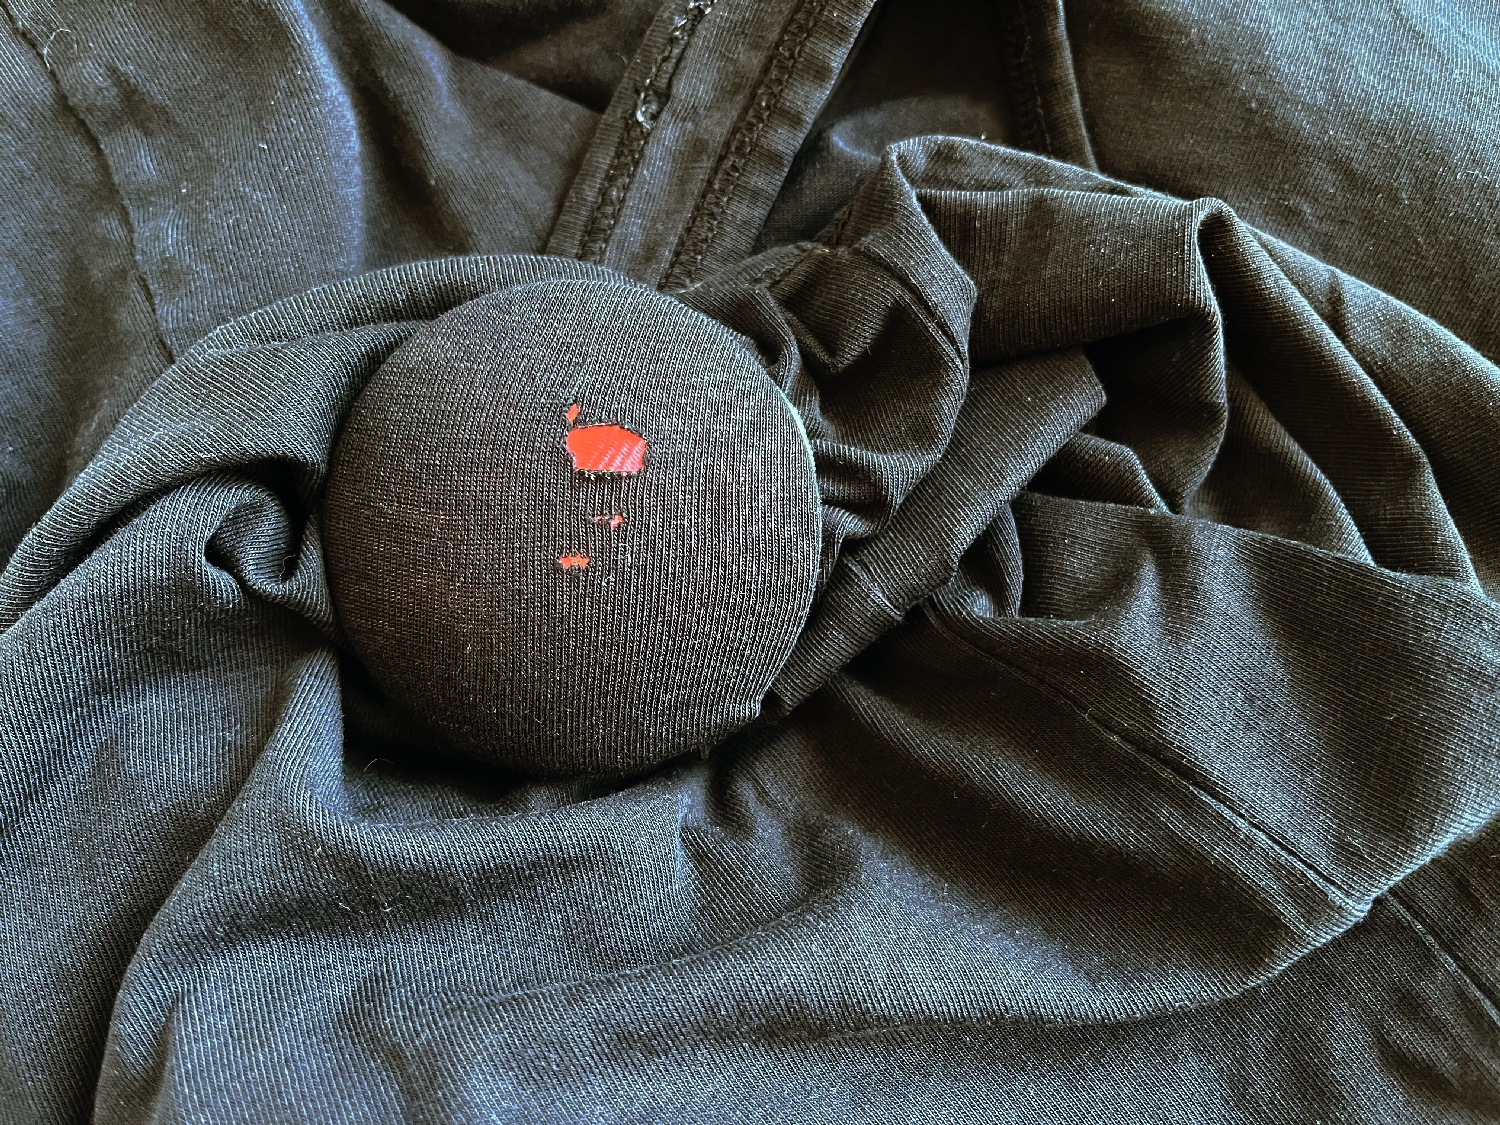
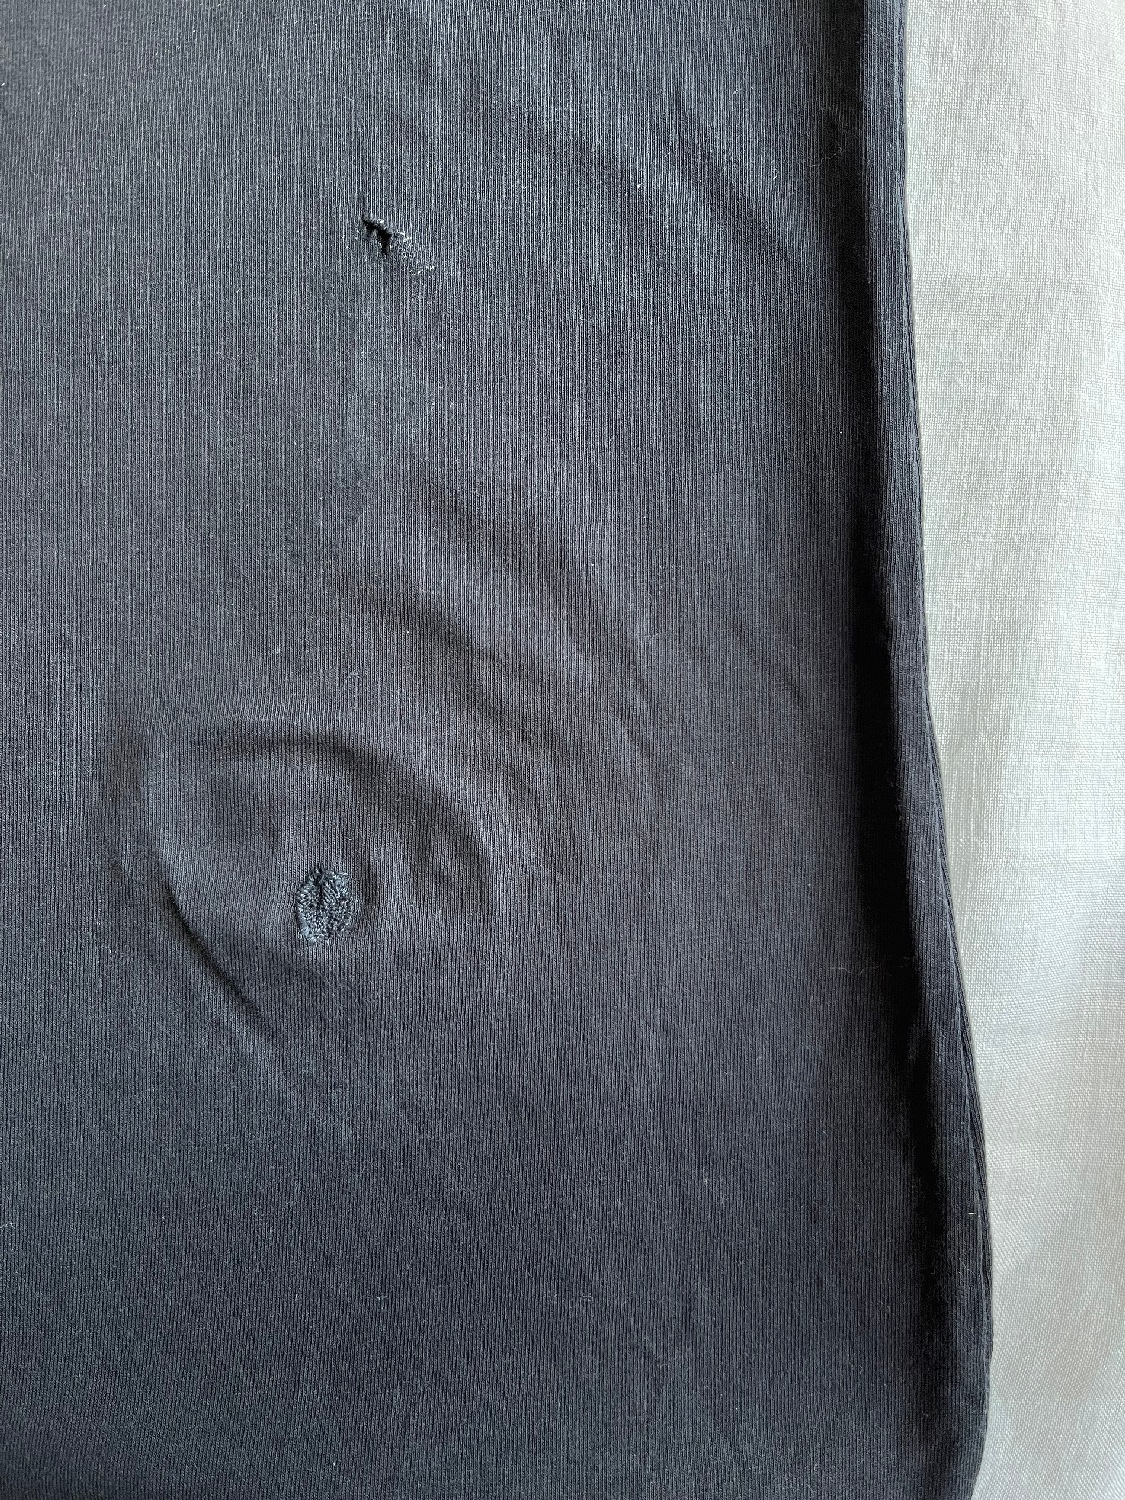
Piece 4: black tank top
The top had three small holes on the back. To close these, I tried scotch darning for the first time. It's so much fun! You can work your way and see how the hole gets smaller and smaller.
Even though it is black yarn, you can still see the darned area quite well. This was not invisible mending. I wonder if it would have looked more invisible with the weaving method? In retrospect, I thought it would have been funnier in colour.
I only managed 2 of 3 holes that day, that's where this 0.66 comes from 😀
The third hole was darned by me in the morning a few days later. On the day of my repair date, I found one hole on the front side (this destroys all my calculation for the yield) ... this hole was darned in the meantime, too 😁


As always, I am amazed about how long a repair takes compared to how long a garment is spurned because of its flaw. In the extreme case, it is 10 minutes versus X years. A bit crazy!
Will I learn from this awareness and tackle the repairs more quickly in the future?
Me: 🤷🏻♀️
—
This post is part of the series <Mein stopfendes Leben>.