Madeira 2024 #3 | On film: A curtain and learning exposure
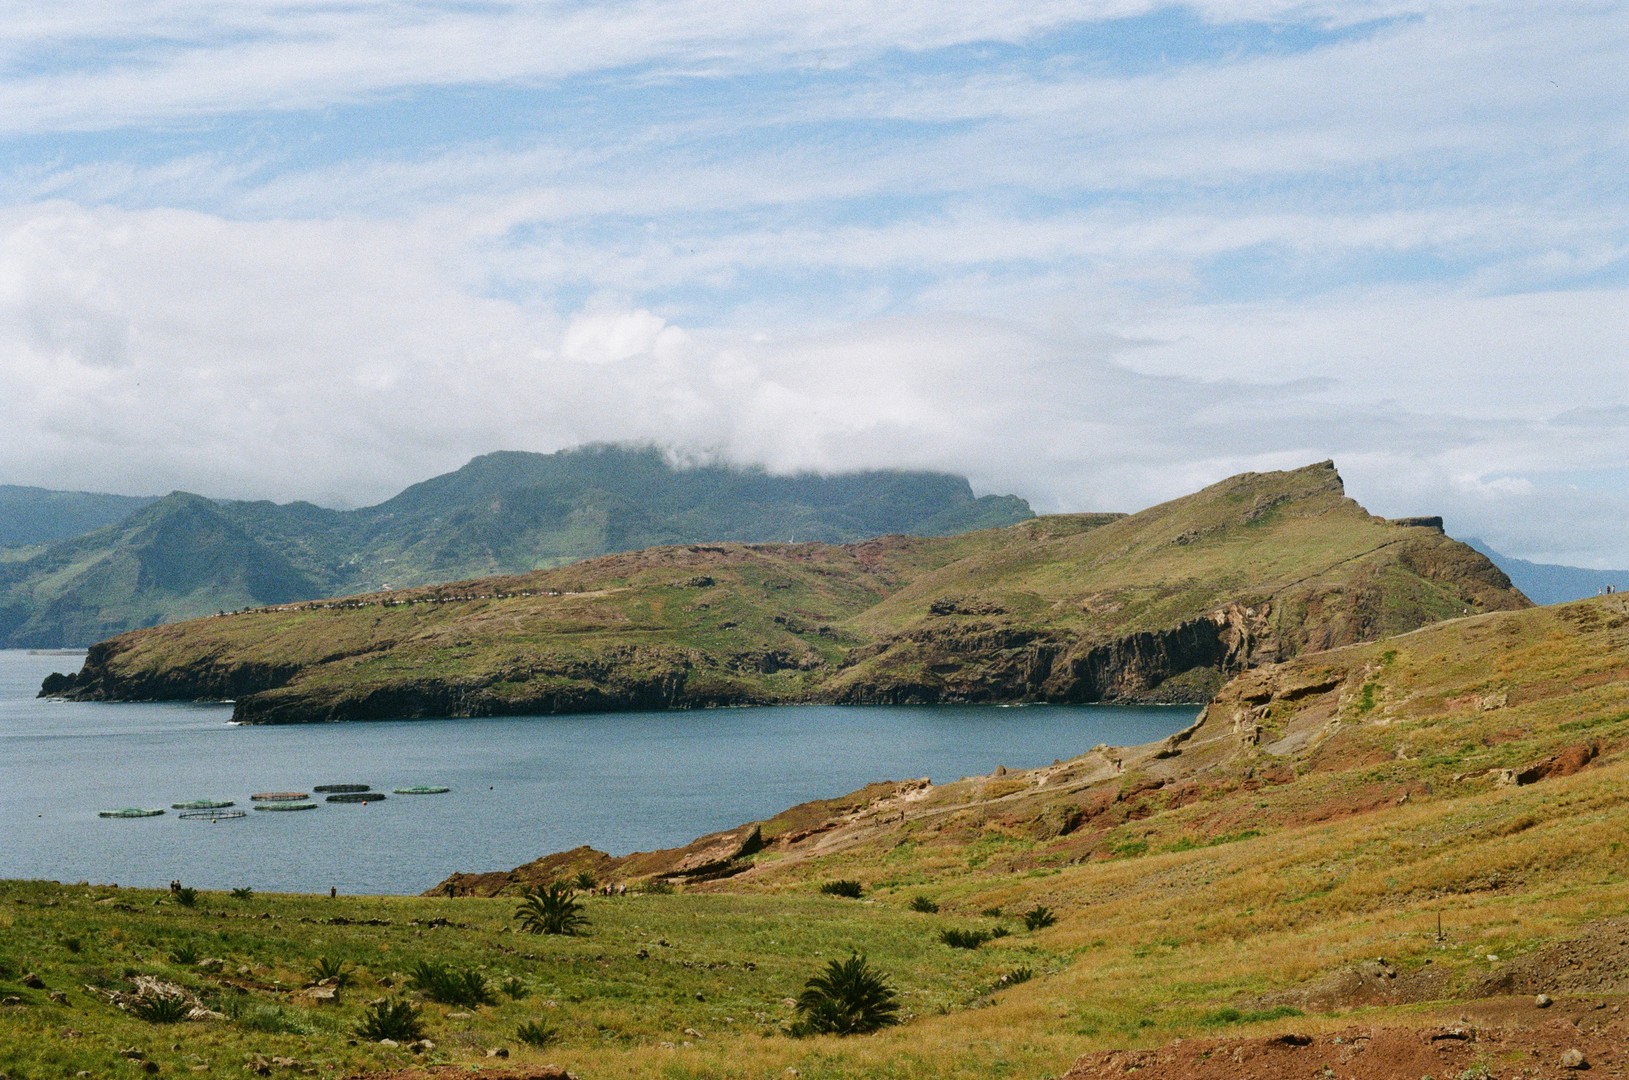
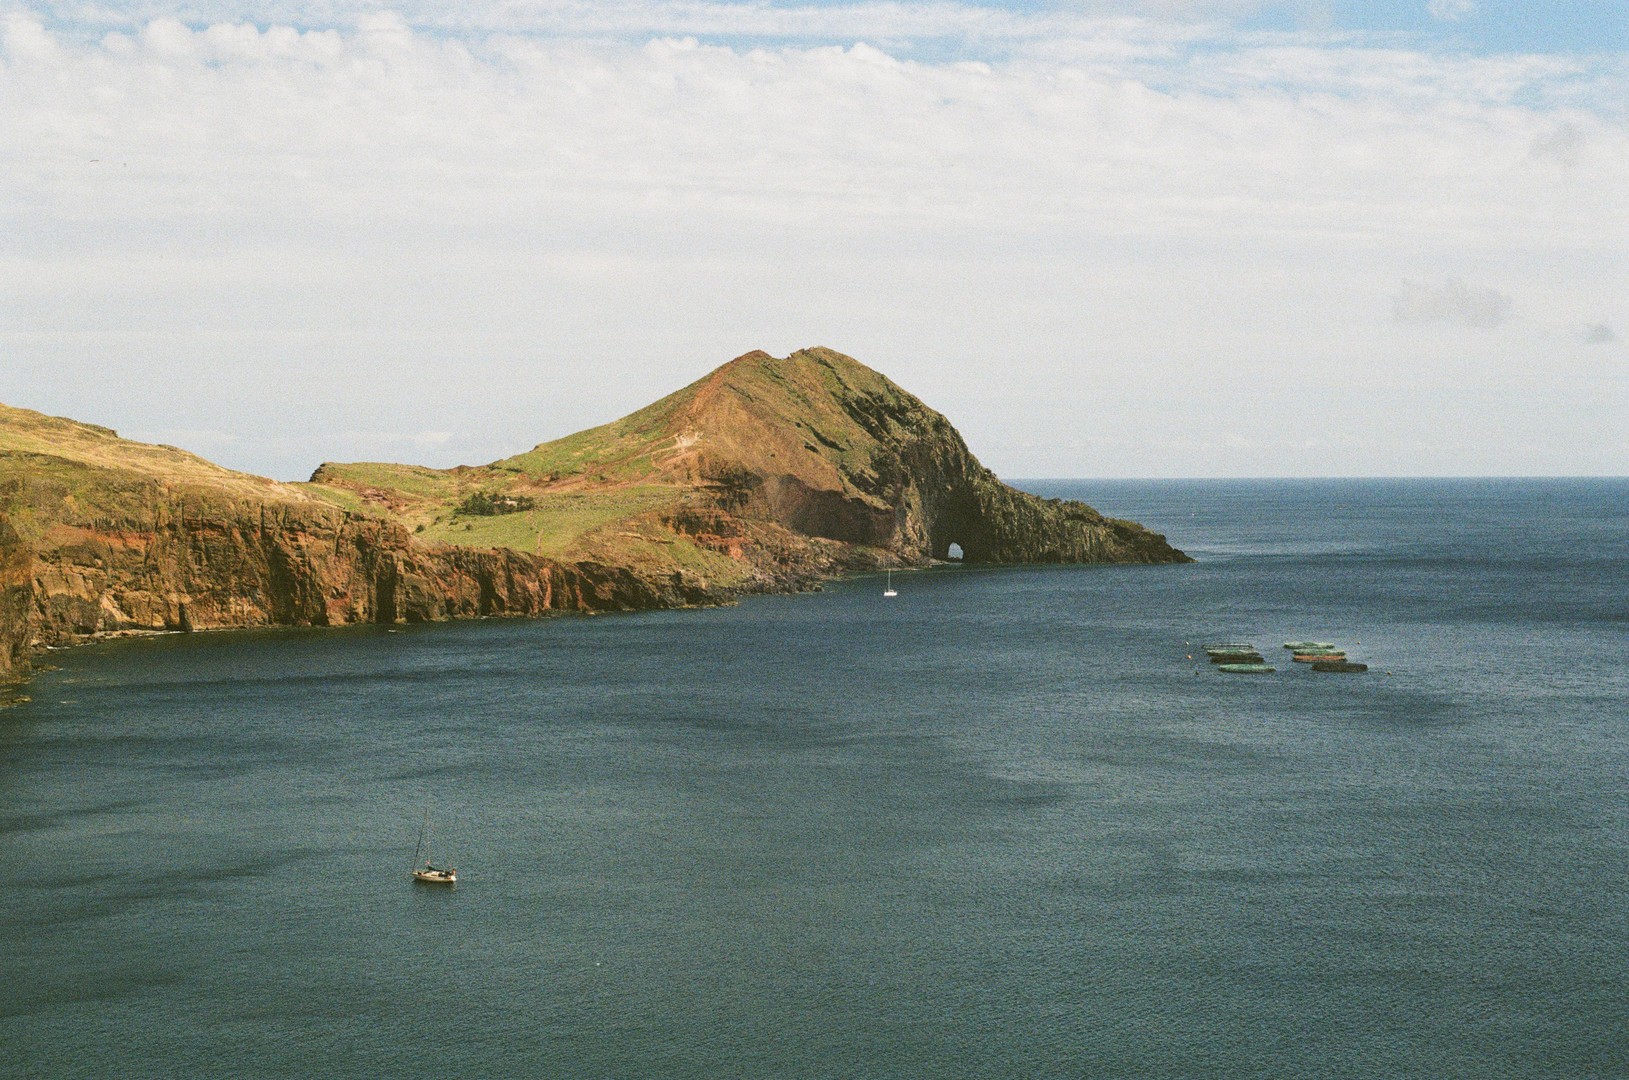
(Click on the image to see it as a whole)
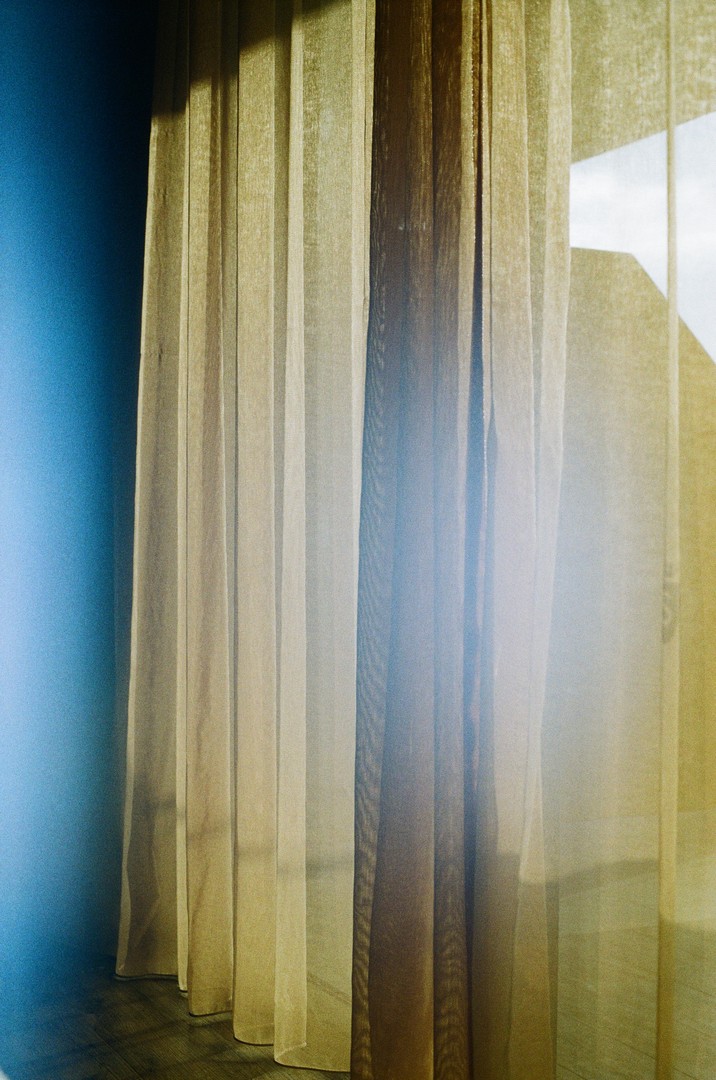
This picture tells two stories:
One story is reminiscent of the sickbed we had set up. We had managed to get something gastrointestinal-related and were therefore confined to bed for a few days. We had no strength for more. Drinking and broth soup was everything that was feasible.
The other story, and this is my personal beautiful story, is having a lot of time. Between periods of tiredness and slumber, I felt like getting involved in the subject of exposure. At that point, I had already decided for some time - several weeks, maybe months - to dive into the topic exposure, or rather how I measure it and set it "the right way". While my first experience was the Sunny 16 rule , I decided to move away from the rule of thumb and towards the light meter. At the very beginning I was lost; honestly speaking, I have never really bothered with metering methods. And that day, lying in bed, I thought I'd use the time to try out the zone system. I had read about it several times but never understood it. YouTube was the medium of choice and after two or three videos I roughly understood the concept.
And the curtain? In my memory, this is the first picture where I had understood the zone system. My personal achievement...
… stop stop!
I have to correct myself. After comparing various time stamps (video history, dates of the images), this image of the curtain was not the first picture where I had understood and applied the zone system. That was a few days earlier and a few pictures before that.
The truth: I learnt to understand the zone system back in my healthy days, just before the gastrointestinal fuss came over me. During the sick days, I really only napped and rested. Even if my memory was playing tricks on me, one thing was good and really happened: The curtain picture was the first picture after being ill that I took using the zone system.
One other thing I am very sure about beside all these half-true memories: I learnt and understood the zone system in this very room, with these curtains. This is true.
#1: Intro | #2: São Lourenço | #3: A curtain and learning exposure | #4: The blue of Porto Moniz | #5: Cliff | #6: Green hangings | #7: moody mist | #8: On the roads of Camacha | #9: On the roads of Calheta | #10: The house on the big hill | #11: Colourful row of houses in Lisbon | #12: My impression of Madeira and Lisbon
Camera + lens: Minolta Dynax 7000i + Minolta AF 50 mm f/1.4
Film: Kodak Gold 200
Development + scan: ON FILM LAB