This post is part of the series „My darning life" (the not really nice-sounding working title but it doesn't get any better than this).
Today it's all about technical know-how.
What materials do I need?
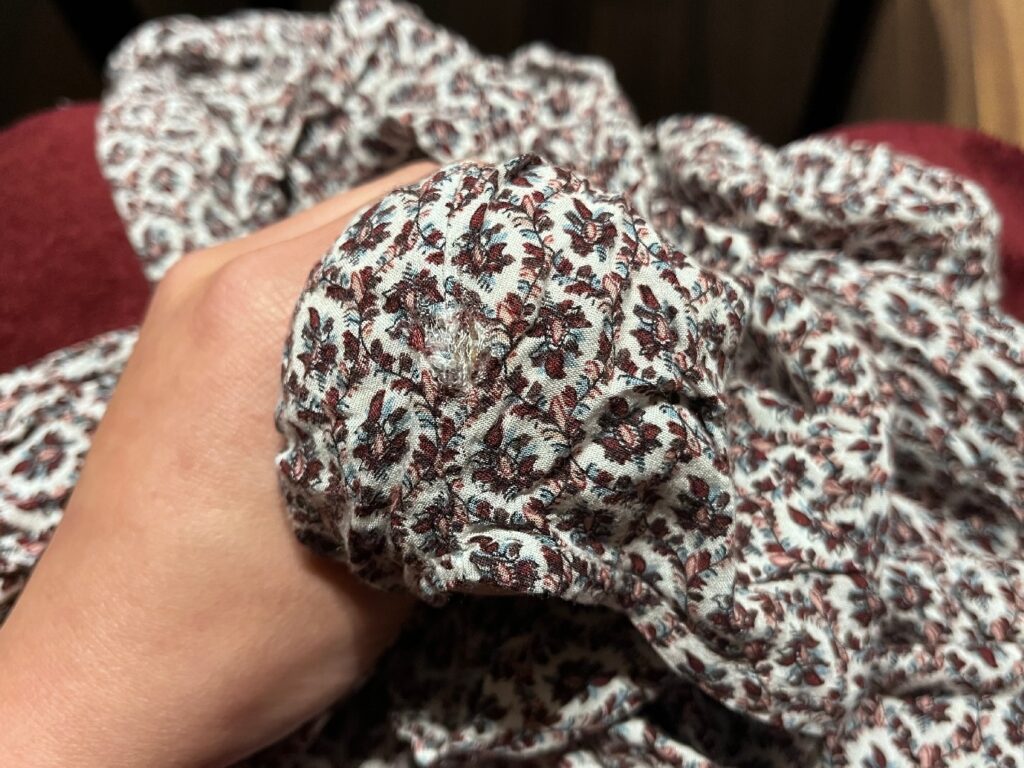
I keep it simple: a piece of fabric with an (almost) hole; a needle; yarn; a solid base to work on, e.g., a darning mushroom or drinking glass (I've also used a loo roll before).
Of course there are subtleties and differences in the yarn, the needle and the darning aid. But I want to focus on getting you started quickly, learning by doings will do the rest.
I don't actually have that much experience myself, I usually have similar problems that I solve by using two different techniques. So my experience is not really diverse.
But in the end it comes down to repairing something and getting it out of the "I don't use it because the hole bothers me" pile.
In total, I would say that the material costs are very manageable: the most expensive thing is probably the darning egg/mushroom, the other things are quite cheap to buy. And once you have them, you'll have them for a while. Or you already have one or two things at home anyway.
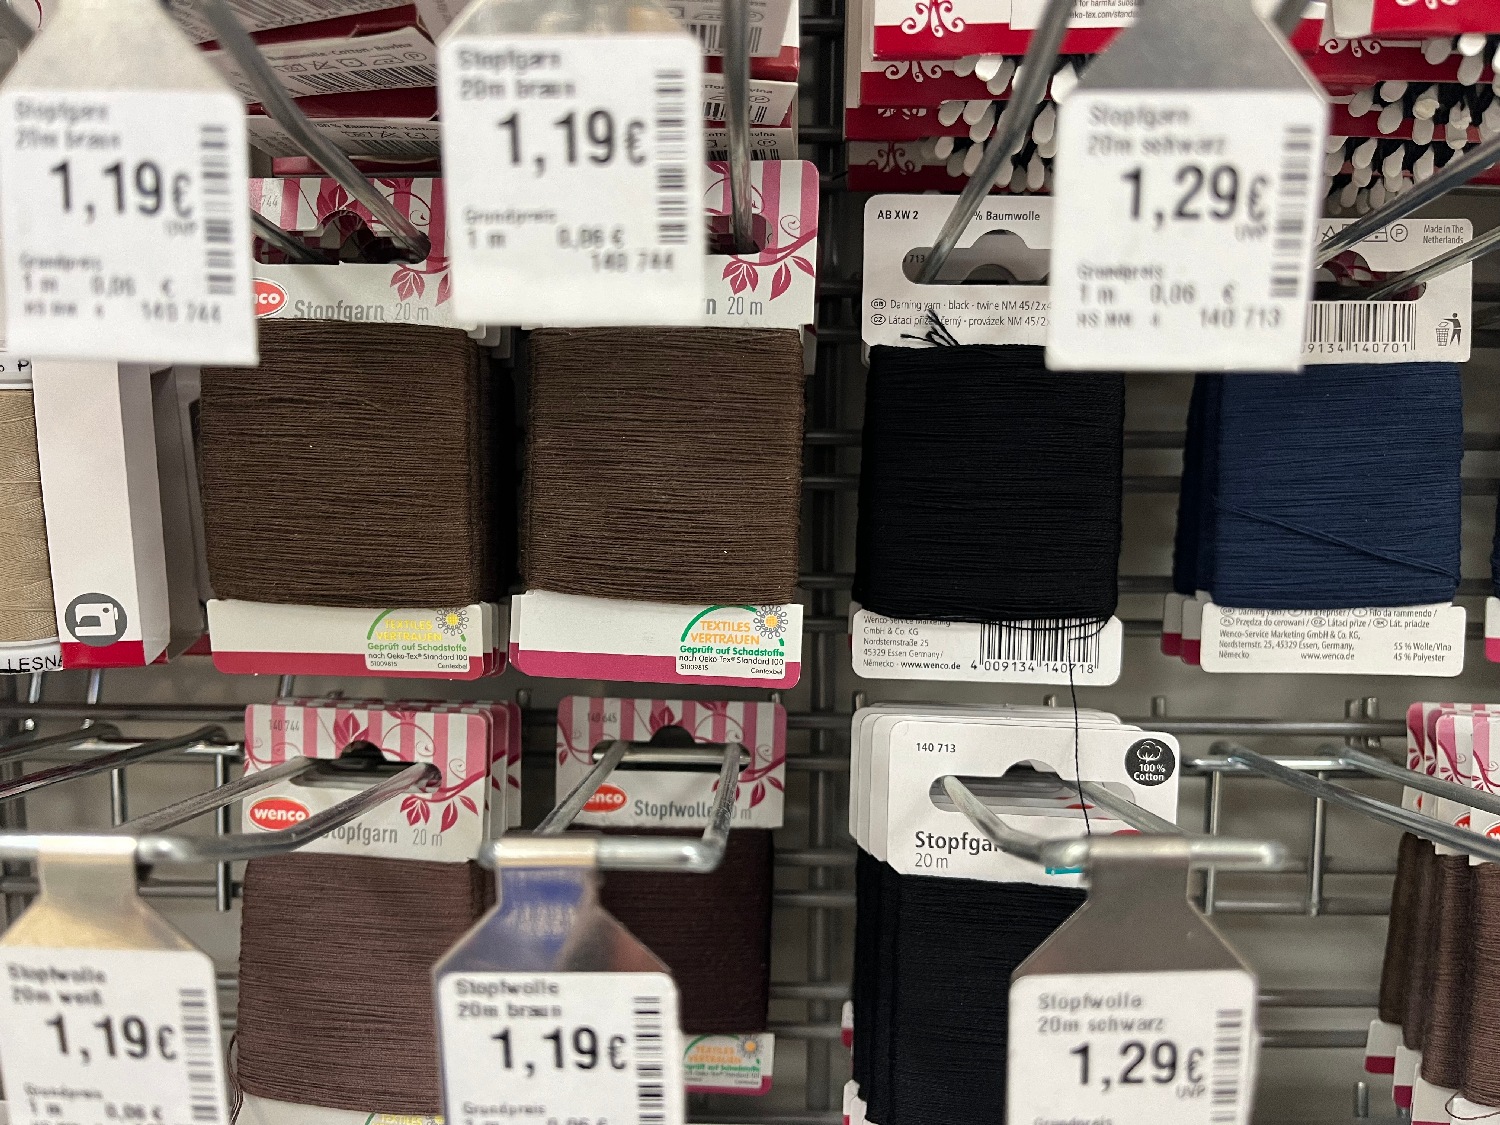
Darning thread with a price tag in a well-stocked supermarket.
Is it difficult?
It is some tinker work with needle and yarn. But unlike other handicrafts such as knitting or crocheting, the movements are easy to learn if you've already had a sewing needle and fabric in your hand.
I found it more difficult to find instructions and information. That's what this post is for. I'll provide you a few keywords and give you a few further links, hoping that you'll get a picture of darning and feel like getting started as quickly as possible.
Here's a quote from the Schiesser company that I think is very apt: "If you're darning a sock for the first time, we have some reassuring news for you: you can't go wrong. After all, it's an attempt to save the sock - at least it's better than throwing it in the bin straight away." (The quote is translated from the german website as well.)
It's trial and error but I find that the learning curve is quite steep in the beginning.
So with the first few darning pieces you'll already get a good feel for the handicraft and quickly learn what works and what doesn't. So don't start with your favourite piece of clothing :D
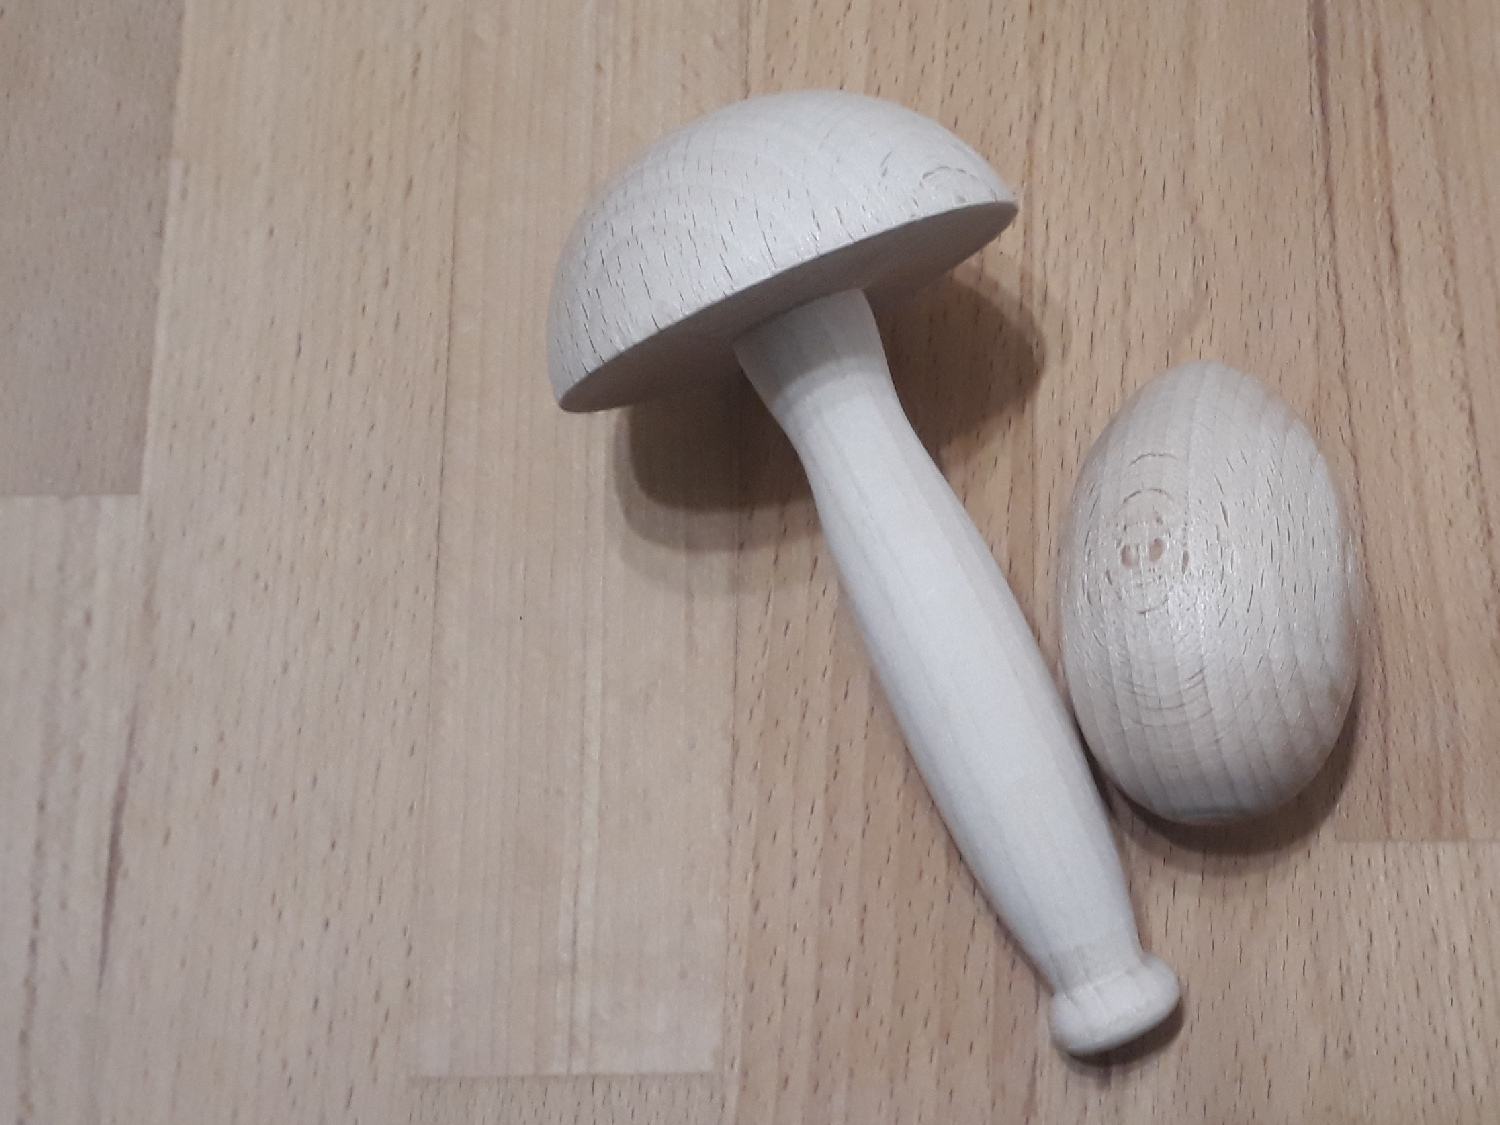
Darning mushroom and darning egg
Search terms for the internet
In German I use the word "stopfen" but this misleads me much more often since it also has another meaning than the handicraft. Alternatives are "stopfen Handarbeit“ oder „stopfen Löcher.
In English it's much clearer, either enter "darning" or "mending". (not searched for these terms by myself though)
You will generally find more in English than in German, but that shouldn't stop you. On the one hand, there are now some great German-language posts, on the other hand, a lot of things work via pictures and videos + translation tools.
weave darning
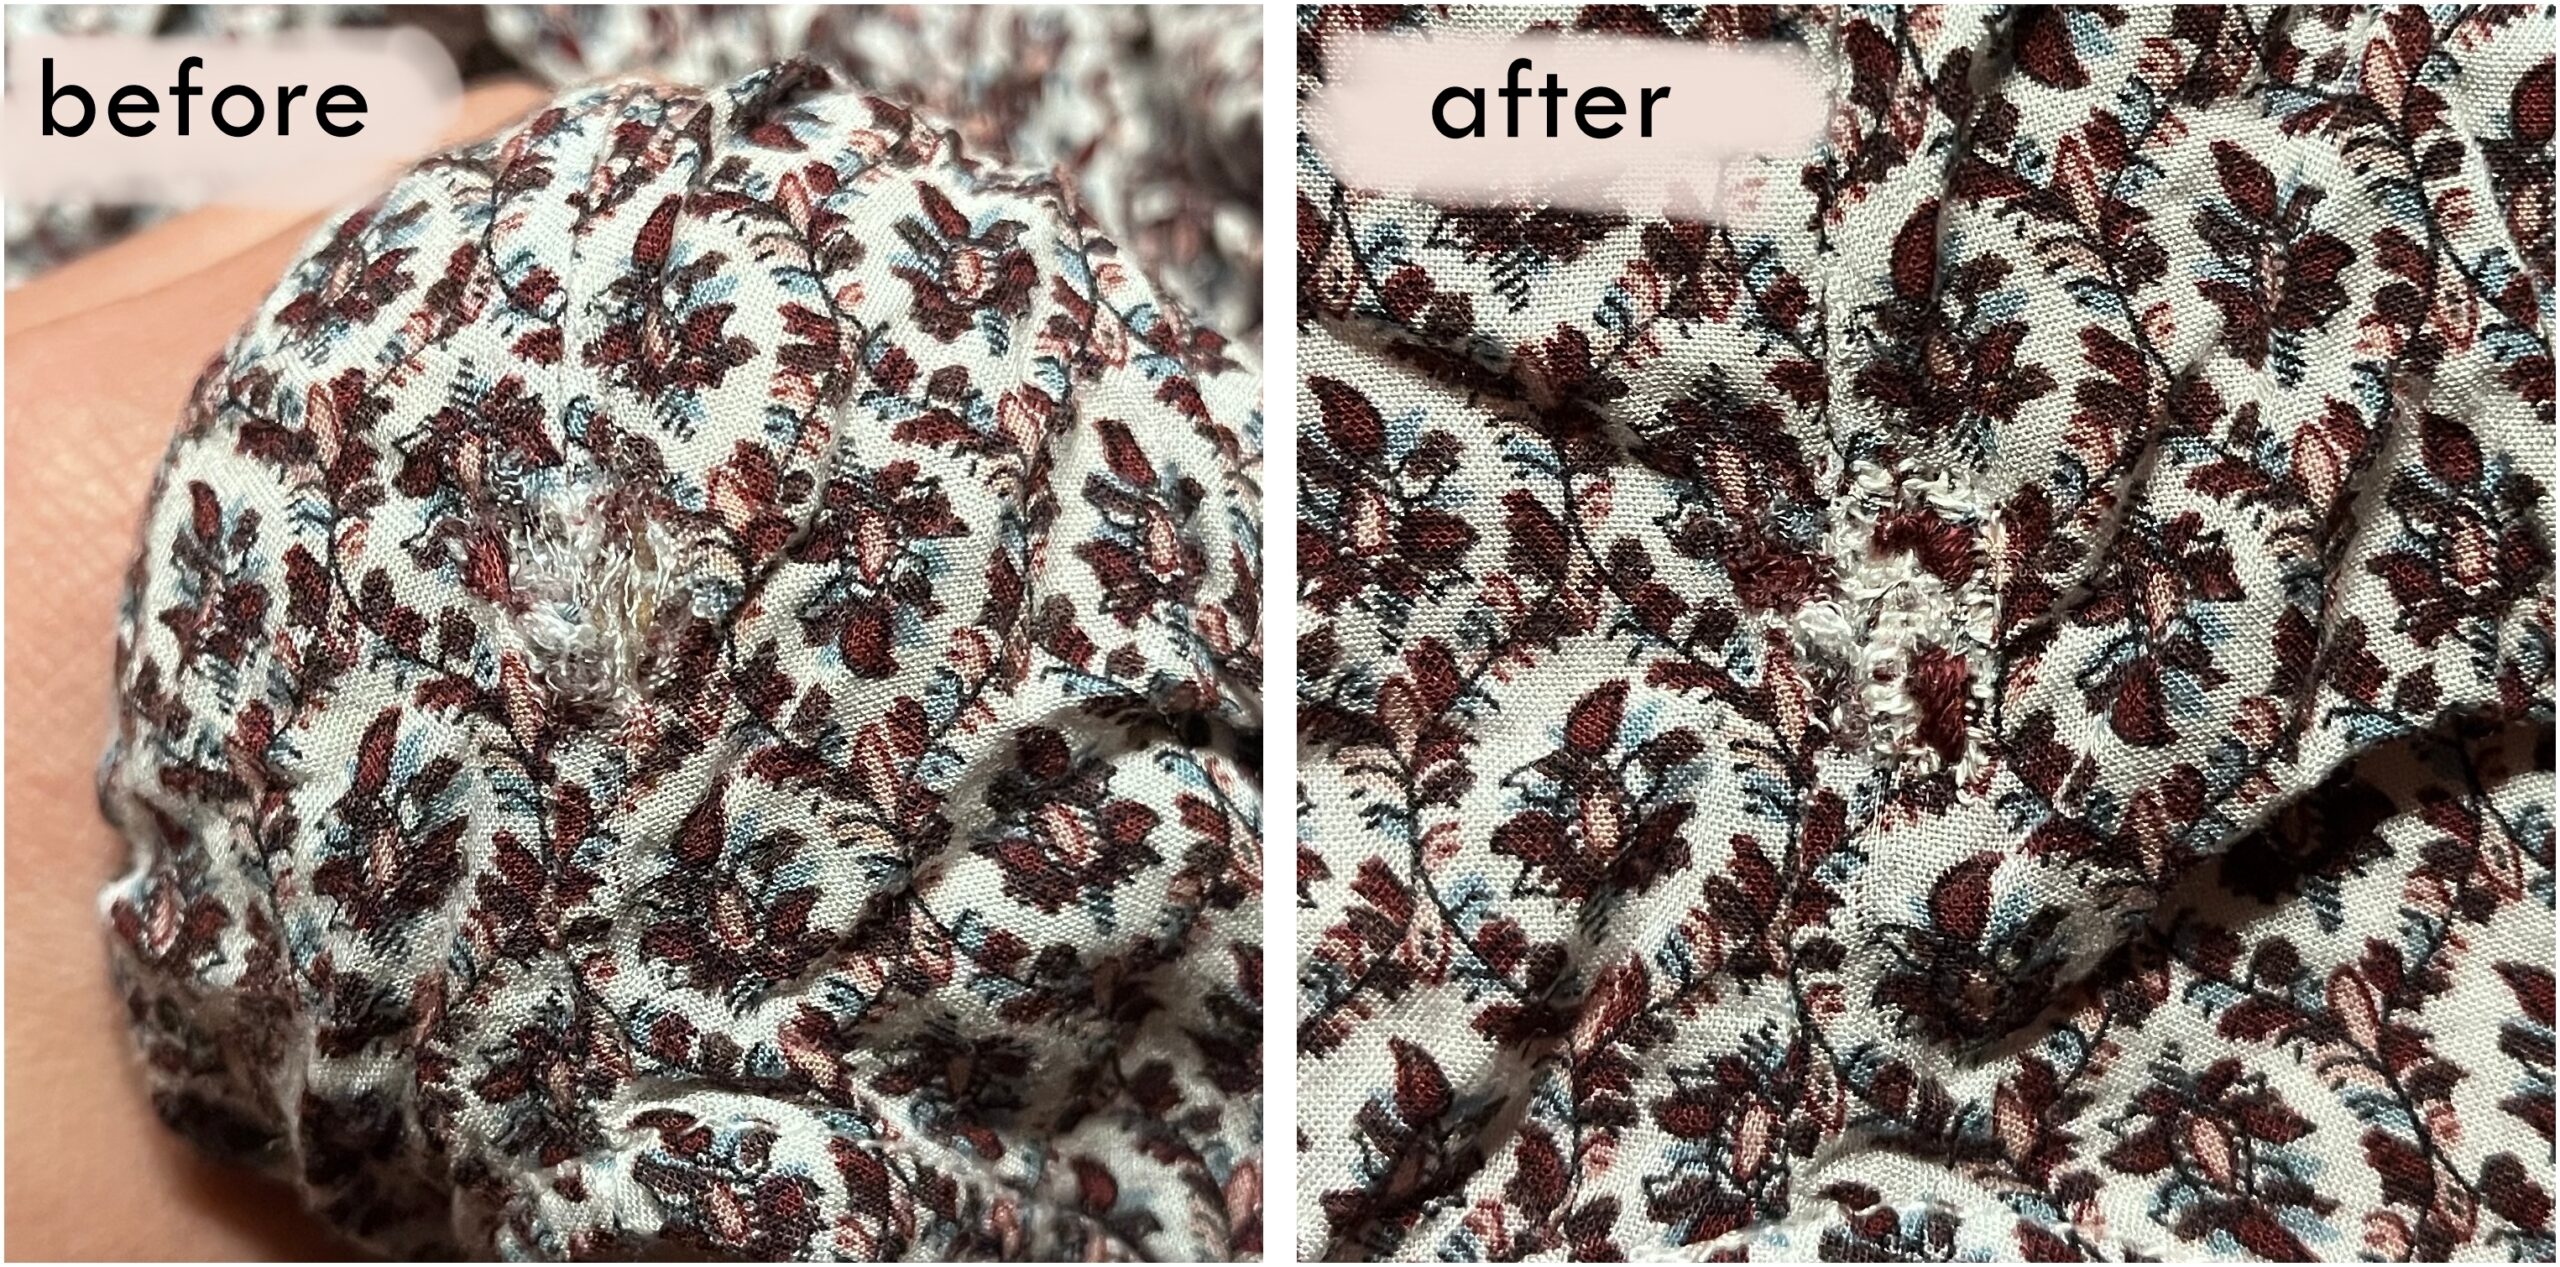
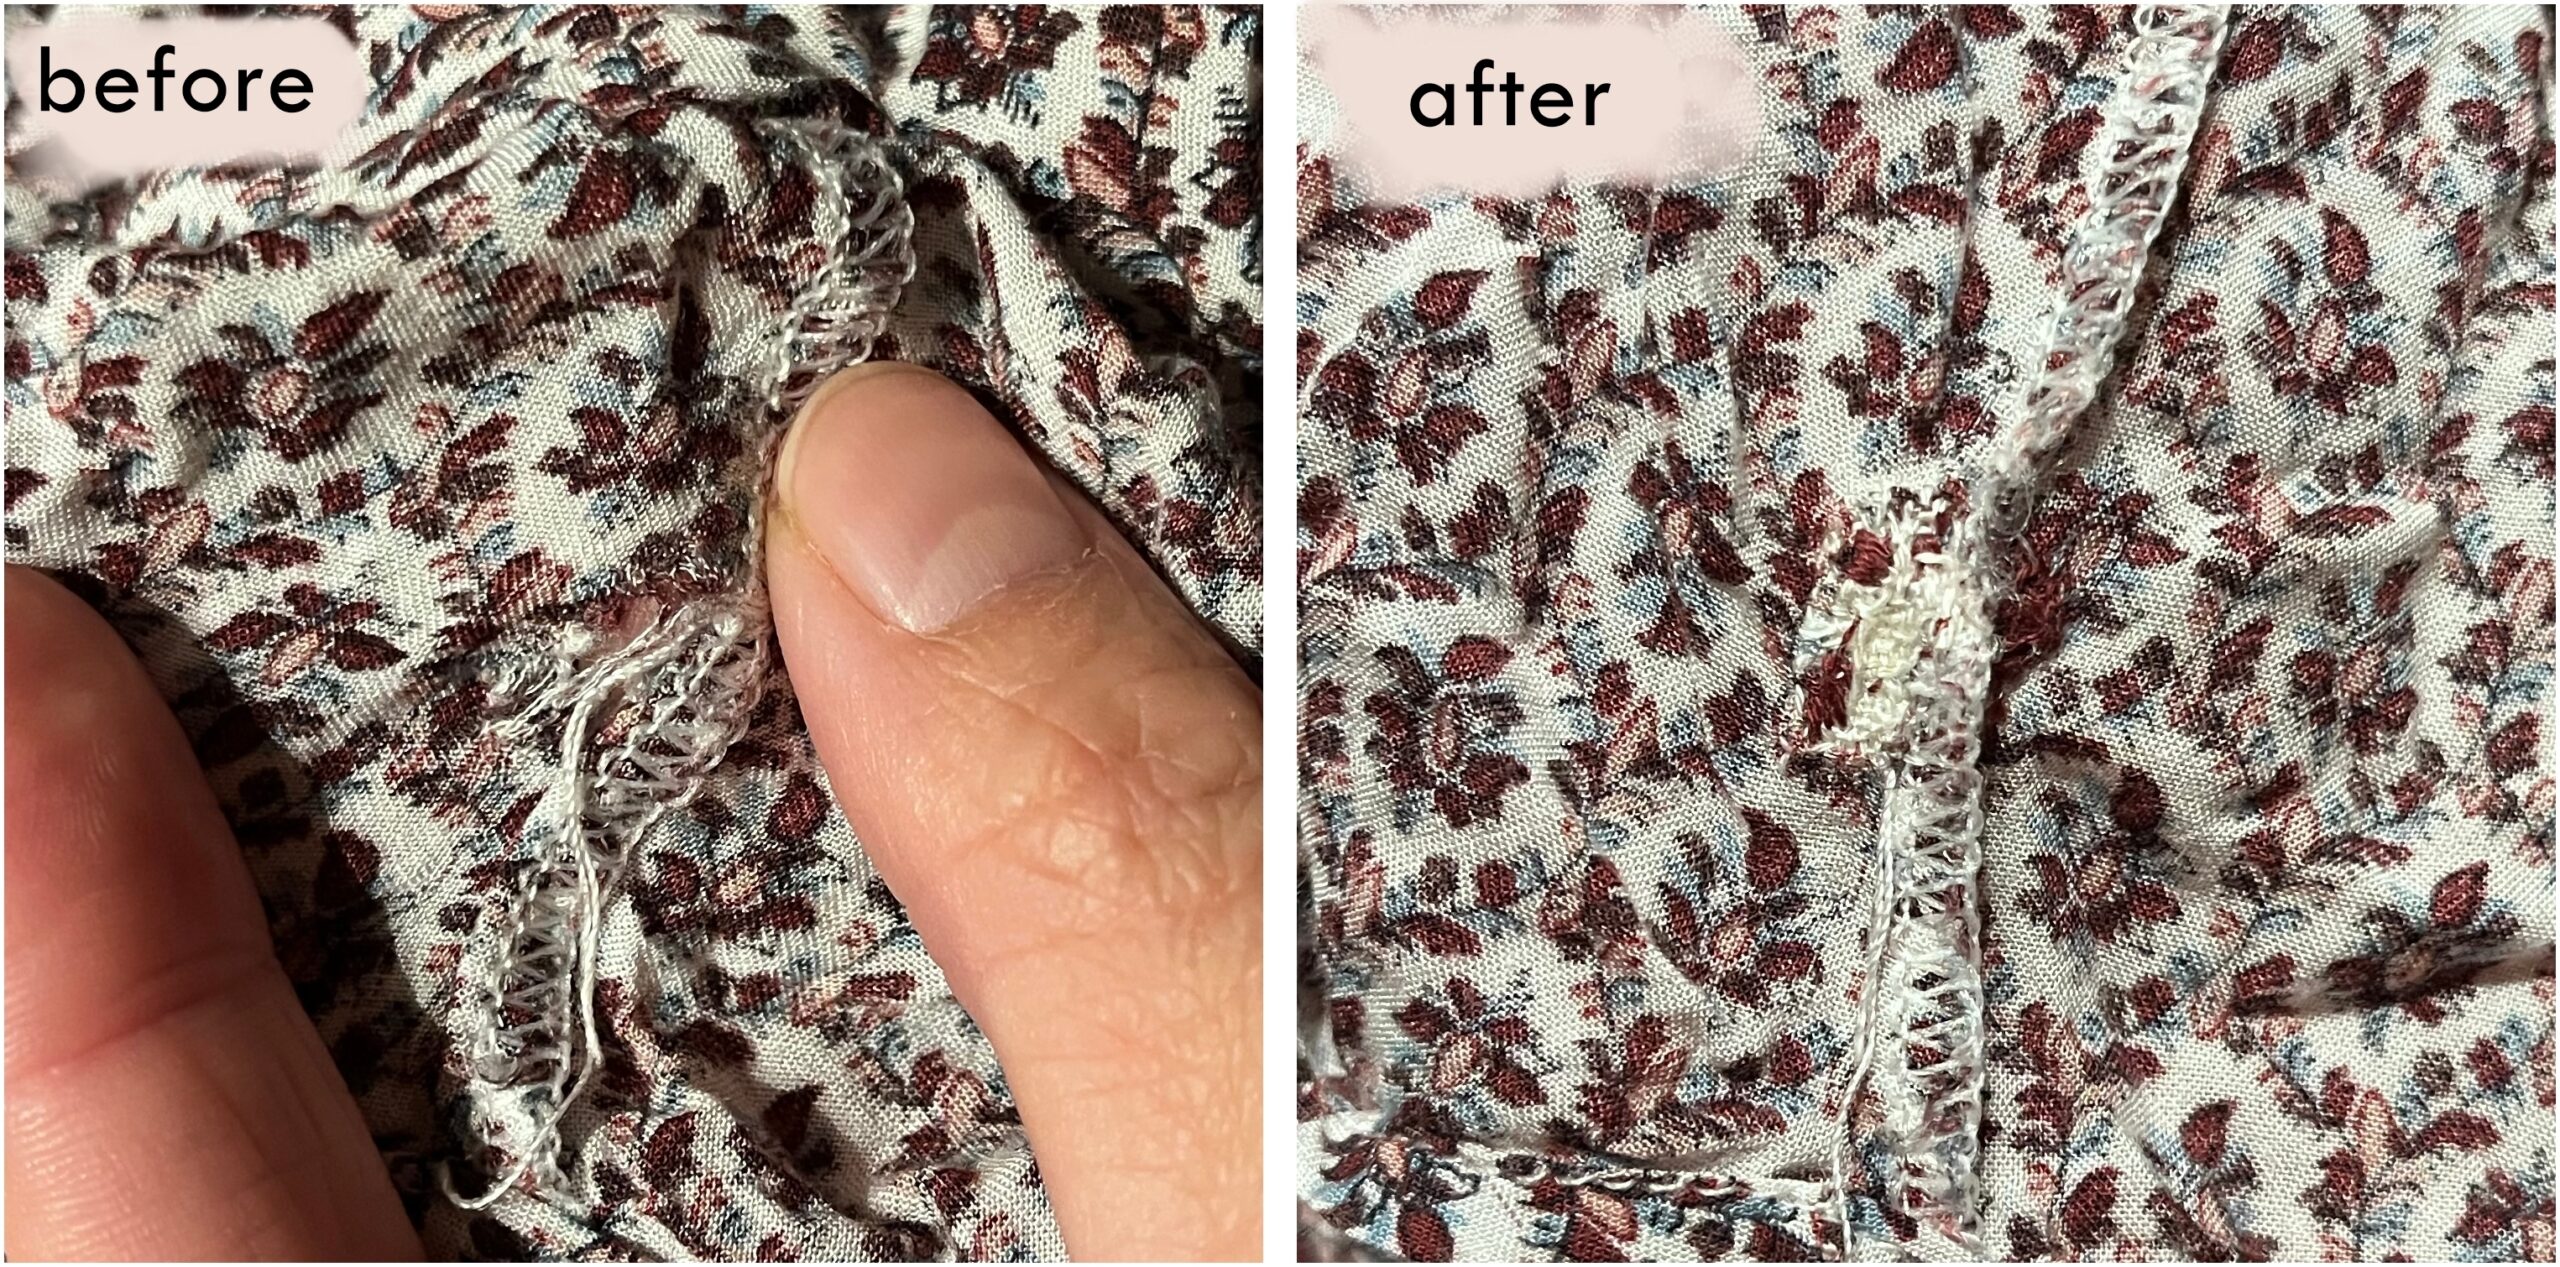
If I assume that you have no experience at all, then I recommend weave darning first. This was also the first method I learnt. It is definitely functional (covers the hole quite effectively) and in my opinion also quite universal. With a little practice and preparation, it becomes really beautiful, but more on that later.
As the name indicates, weave darning is actually weaving. Here is a sketch of the technique: LINK | Pinterest image
Especially when it comes to weave darning, I usually find texts so-so. Here is one that I find quite good and helpful though:
Videos are much better for learning. I've posted the following video from Ein Koffer voll Wolle before, I think it's really good, so here it is again
Another video - in english
Visible Mending
For better visualisation, the instructions often use different colours than the colour of the garment to be repaired. In fact, some people do this very deliberately and really emphasise the darned area. This is called "Visible Mending“
The most fun thing to do with visible mending is to scroll through Instagram and Pinterest.
I know of these Instagram accounts. Use the platforms' algorithm to get more ideas:
- @visible_creative_mending (english)
- @Milli_and_the_bee (german, english)
- @Ekaterinahaak (german, english)
- @Slowstitchclub (english)
- @Reparierenistliebe (german)
Invisible Mending
In contrast to visible mending, there is also "Invisible Mending". This means darning in such a way that you cannot see that your cloth was darned and the repair fits almost perfectly into the garment.
Ultimately, in/visible mending is the result of the repair - how the result is achieved can vary greatly. Some techniques are suitable for both, some more/only for visible mending, others more/only for invisible mending.
- @Alexandrabrinck (english) – very nice invisible mending pieces
Other techniques
Keywords, if you fancy more:
- duplicate stitch. A darning technique that I love because it imitates knitting stitches and therefore fits perfectly into the stitch pattern aka invisible mending, provided you have a very similar/same yarn at hand.
- Scotch Darning / .A darning technique that I haven't tried yet. It covers the entire surface, is functional and universal - similar to the weave darning technique. And at second glance, it looks very feasible.
- Embroidery. Used as a visible mending technique. There are so many beautiful ideas! But you need a bit of know-how with embroidery stitches to implement the ideas well and also a bit more equipment: thread colours are more important here because the ideas are more concrete
Media: Books
There are several books on the market by now which is a very nice evolvement. Books often show several techniques and application examples in one media and are beautifully illustrated, which is an advantage of books. Leafing through them is quick and makes you want to get started. Therefore, I categorise books between Instagram, where you mainly get pictures and ideas, and videos that show you technically how to achieve a result.
Back then, I first looked for books on Amazon (same search terms as above) and wrote down a few titles. Then I went to the bookshop and ordered the books to look through, as preferences in books vary.
My first book was the german edition of „Modern Mending“ by Erin Lewis-Fitgerald, available in Australian and UK/US editions.
Media: Pinterest
Actually THE tool to really fall into a rabbit hole. I just found myself in exact that hole when I clicked on the Pinterest link above. Many more suggestions are displayed (at least for me) immediately which make me want to check out even more!

With this, I'm reaching the end of this post. Now I hope you will enjoy exploring and maybe this topic will become a little Rabbit Hole for you, too - at least I'll disappear into 🐰🕳️